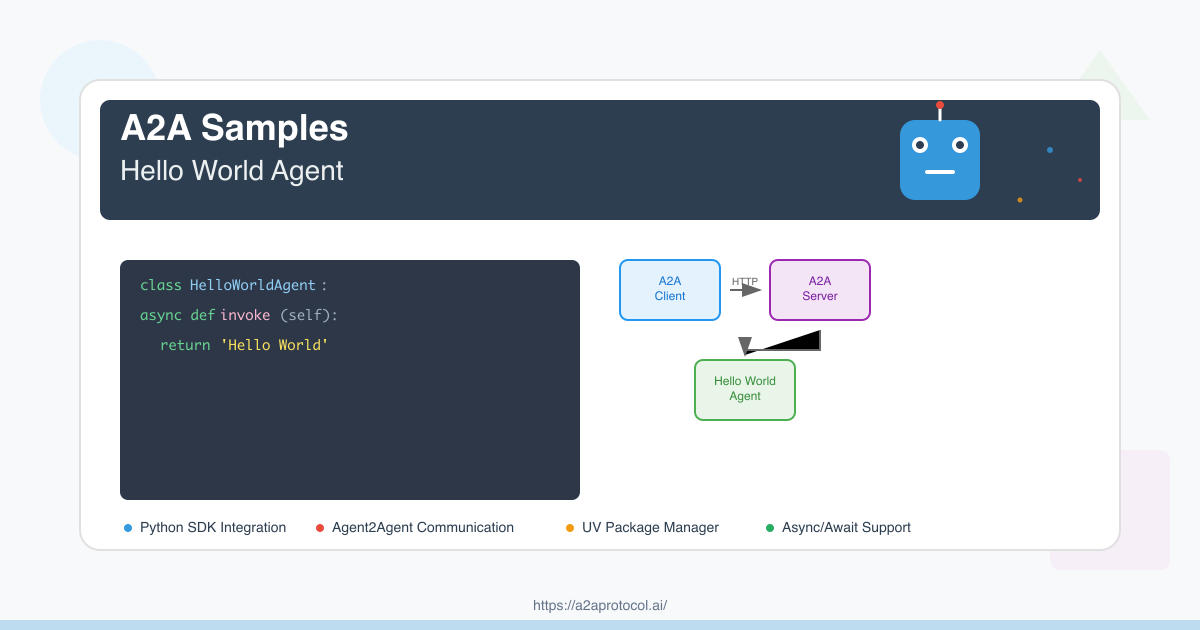
项目概述
这是一个基于 A2A (Agent2Agent) SDK 的简单 Hello World 代理示例。该项目演示了如何创建一个基本的智能代理服务器,它可以响应用户消息并返回简单的问候语。
依赖版本说明
Python 版本要求
- Python >= 3.10
核心依赖包
| 包名 | 版本 | 用途 |
|---|---|---|
a2a-sdk |
>= 0.2.5 | A2A 核心 SDK,提供代理框架 |
uvicorn |
>= 0.34.2 | ASGI 服务器,用于运行 Web 应用 |
click |
>= 8.1.8 | 命令行界面工具 |
httpx |
>= 0.28.1 | 异步 HTTP 客户端 |
pydantic |
>= 2.11.4 | 数据验证和序列化 |
python-dotenv |
>= 1.1.0 | 环境变量管理 |
langchain-google-genai |
>= 2.1.4 | Google 生成式 AI 集成 |
langgraph |
>= 0.4.1 | 语言图处理框架 |
项目结构
helloworld/
├── __init__.py              # 包初始化文件
├── __main__.py              # 主程序入口
├── agent_executor.py        # 代理执行器实现
├── test_client.py           # 测试客户端
├── pyproject.toml           # 项目配置和依赖
├── uv.lock                  # 依赖锁定文件
└── README.md                # 项目说明
环境搭建
1. 安装 UV 包管理器
如果您还没有安装 UV,请先安装:
# macOS/Linux
curl -LsSf https://astral.sh/uv/install.sh | sh

# 或者使用 pip
pip install uv
2. 克隆项目
git clone https://github.com/google-a2a/a2a-samples.git
cd a2a-samples/samples/python/agents/helloworld
3. 安装依赖
UV 会自动根据 pyproject.toml 和 uv.lock 文件安装所有依赖:
uv sync
代码架构说明
核心组件
1. HelloWorldAgent (agent_executor.py)
class HelloWorldAgent:
    """Hello World Agent."""

    async def invoke(self) -> str:
        return 'Hello World'
2. HelloWorldAgentExecutor (agent_executor.py)
class HelloWorldAgentExecutor(AgentExecutor):
    """代理执行器实现"""

    async def execute(self, context: RequestContext, event_queue: EventQueue) -> None:
        result = await self.agent.invoke()
        event_queue.enqueue_event(new_agent_text_message(result))
3. 服务器配置 (__main__.py)
- 定义代理技能 (AgentSkill)
- 配置公共和扩展代理卡片 (AgentCard)
- 设置请求处理器和任务存储
- 启动 Uvicorn 服务器
运行步骤
1. 启动代理服务器
uv run .
服务器将在 http://localhost:9999 启动。
2. 运行测试客户端
在另一个终端窗口中:
uv run test_client.py
3. 验证服务
您可以通过以下方式验证服务是否正常运行:
访问代理卡片信息
curl http://localhost:9999/.well-known/agent.json
访问扩展代理卡片(需要认证)
curl -H "Authorization: Bearer dummy-token-for-extended-card" \
     http://localhost:9999/agent/authenticatedExtendedCard
项目流程图
A2A 客户端与服务器交互流程
sequenceDiagram
    participant Client as A2A Client
    participant Server as A2A Server
    participant Agent as HelloWorldAgent
    participant Queue as EventQueue

    Note over Client,Server: 1. 服务发现阶段
    Client->>Server: GET /.well-known/agent.json
    Server-->>Client: 返回公共代理卡片

    Note over Client,Server: 2. 扩展卡片获取(可选)
    Client->>Server: GET /agent/authenticatedExtendedCard<br/>(with Bearer token)
    Server-->>Client: 返回扩展代理卡片

    Note over Client,Server: 3. 消息发送流程
    Client->>Server: POST /agent/message<br/>{"message": {"role": "user", "parts": [...]}}

    Note over Server,Queue: 4. 服务器内部处理
    Server->>Agent: 调用 HelloWorldAgentExecutor.execute()
    Agent->>Agent: 执行 HelloWorldAgent.invoke()
    Agent-->>Queue: 生成 "Hello World" 消息
    Queue-->>Server: 返回事件队列结果

    Note over Client,Server: 5. 响应返回
    Server-->>Client: 返回消息响应

    Note over Client,Server: 6. 流式消息处理(可选)
    Client->>Server: POST /agent/message/stream
    Server-->>Client: 流式返回消息块
    Server-->>Client: 消息块 1
    Server-->>Client: 消息块 2
    Server-->>Client: 结束标记
系统架构流程图
graph TB
    subgraph "客户端环境"
        C1[测试客户端启动]
        C2[A2ACardResolver<br/>解析代理卡片]
        C3[A2AClient<br/>初始化]
        C4[发送消息请求]
        C5[处理响应]
    end

    subgraph "网络通信"
        N1[HTTP/HTTPS 请求]
        N2[JSON 数据传输]
    end

    subgraph "服务器环境"
        S1[A2AStarletteApplication<br/>Web 服务器]
        S2[DefaultRequestHandler<br/>请求处理器]
        S3[HelloWorldAgentExecutor<br/>代理执行器]
        S4[HelloWorldAgent<br/>核心代理逻辑]
        S5[InMemoryTaskStore<br/>任务存储]
        S6[EventQueue<br/>事件队列]
    end

    subgraph "代理配置"
        A1[公共代理卡片<br/>基础技能]
        A2[扩展代理卡片<br/>增强技能]
    end

    %% 客户端流程
    C1 --> C2
    C2 --> C3
    C3 --> C4
    C4 --> C5

    %% 网络通信
    C4 --> N1
    N1 --> N2
    N2 --> S1
    S1 --> N2
    N2 --> C5

    %% 服务器流程
    S1 --> S2
    S2 --> S3
    S3 --> S4
    S4 --> S6
    S6 --> S3
    S3 --> S2
    S2 --> S1

    %% 配置关联
    A1 --> S1
    A2 --> S1
    S2 --> S5

    %% 样式
    style C3 fill:#e3f2fd
    style S1 fill:#f3e5f5
    style S4 fill:#e8f5e8
    style N2 fill:#fff3e0
API 端点
公共端点
| 端点 | 方法 | 描述 |
|---|---|---|
/.well-known/agent.json |
GET | 获取公共代理卡片信息 |
/agent/message |
POST | 发送消息给代理 |
/agent/message/stream |
POST | 流式发送消息 |
认证端点
| 端点 | 方法 | 描述 | 认证 |
|---|---|---|---|
/agent/authenticatedExtendedCard |
GET | 获取扩展代理卡片 | Bearer Token |
技能配置
基础技能
- ID:
hello_world - 名称: Returns hello world
- 描述: just returns hello world
- 示例: ['hi', 'hello world']
扩展技能(需要认证)
- ID:
super_hello_world - 名称: Returns a SUPER Hello World
- 描述: A more enthusiastic greeting, only for authenticated users
- 示例: ['super hi', 'give me a super hello']
故障排除
常见问题
-
端口被占用
# 检查端口使用情况 lsof -i :9999 # 杀死占用进程 kill -9 <PID> -
依赖安装失败
# 清理缓存重新安装 uv cache clean uv sync --reinstall -
Python 版本不兼容
# 检查 Python 版本
python --version
# 确保版本 >= 3.10
扩展开发
添加新技能
- 在
__main__.py中定义新的AgentSkill - 修改
agent_executor.py中的逻辑处理 - 更新代理卡片配置
集成外部 API
- 在
pyproject.toml中添加新依赖 - 在
agent_executor.py中实现 API 调用 - 处理异步响应和错误
总结
这个 Hello World 示例展示了 A2A SDK 的基本用法,包括:
- 代理服务器的创建和配置
- 技能定义和管理
- 客户端-服务器通信
- 认证和扩展功能
通过这个示例,您可以快速了解如何构建自己的智能代理应用。
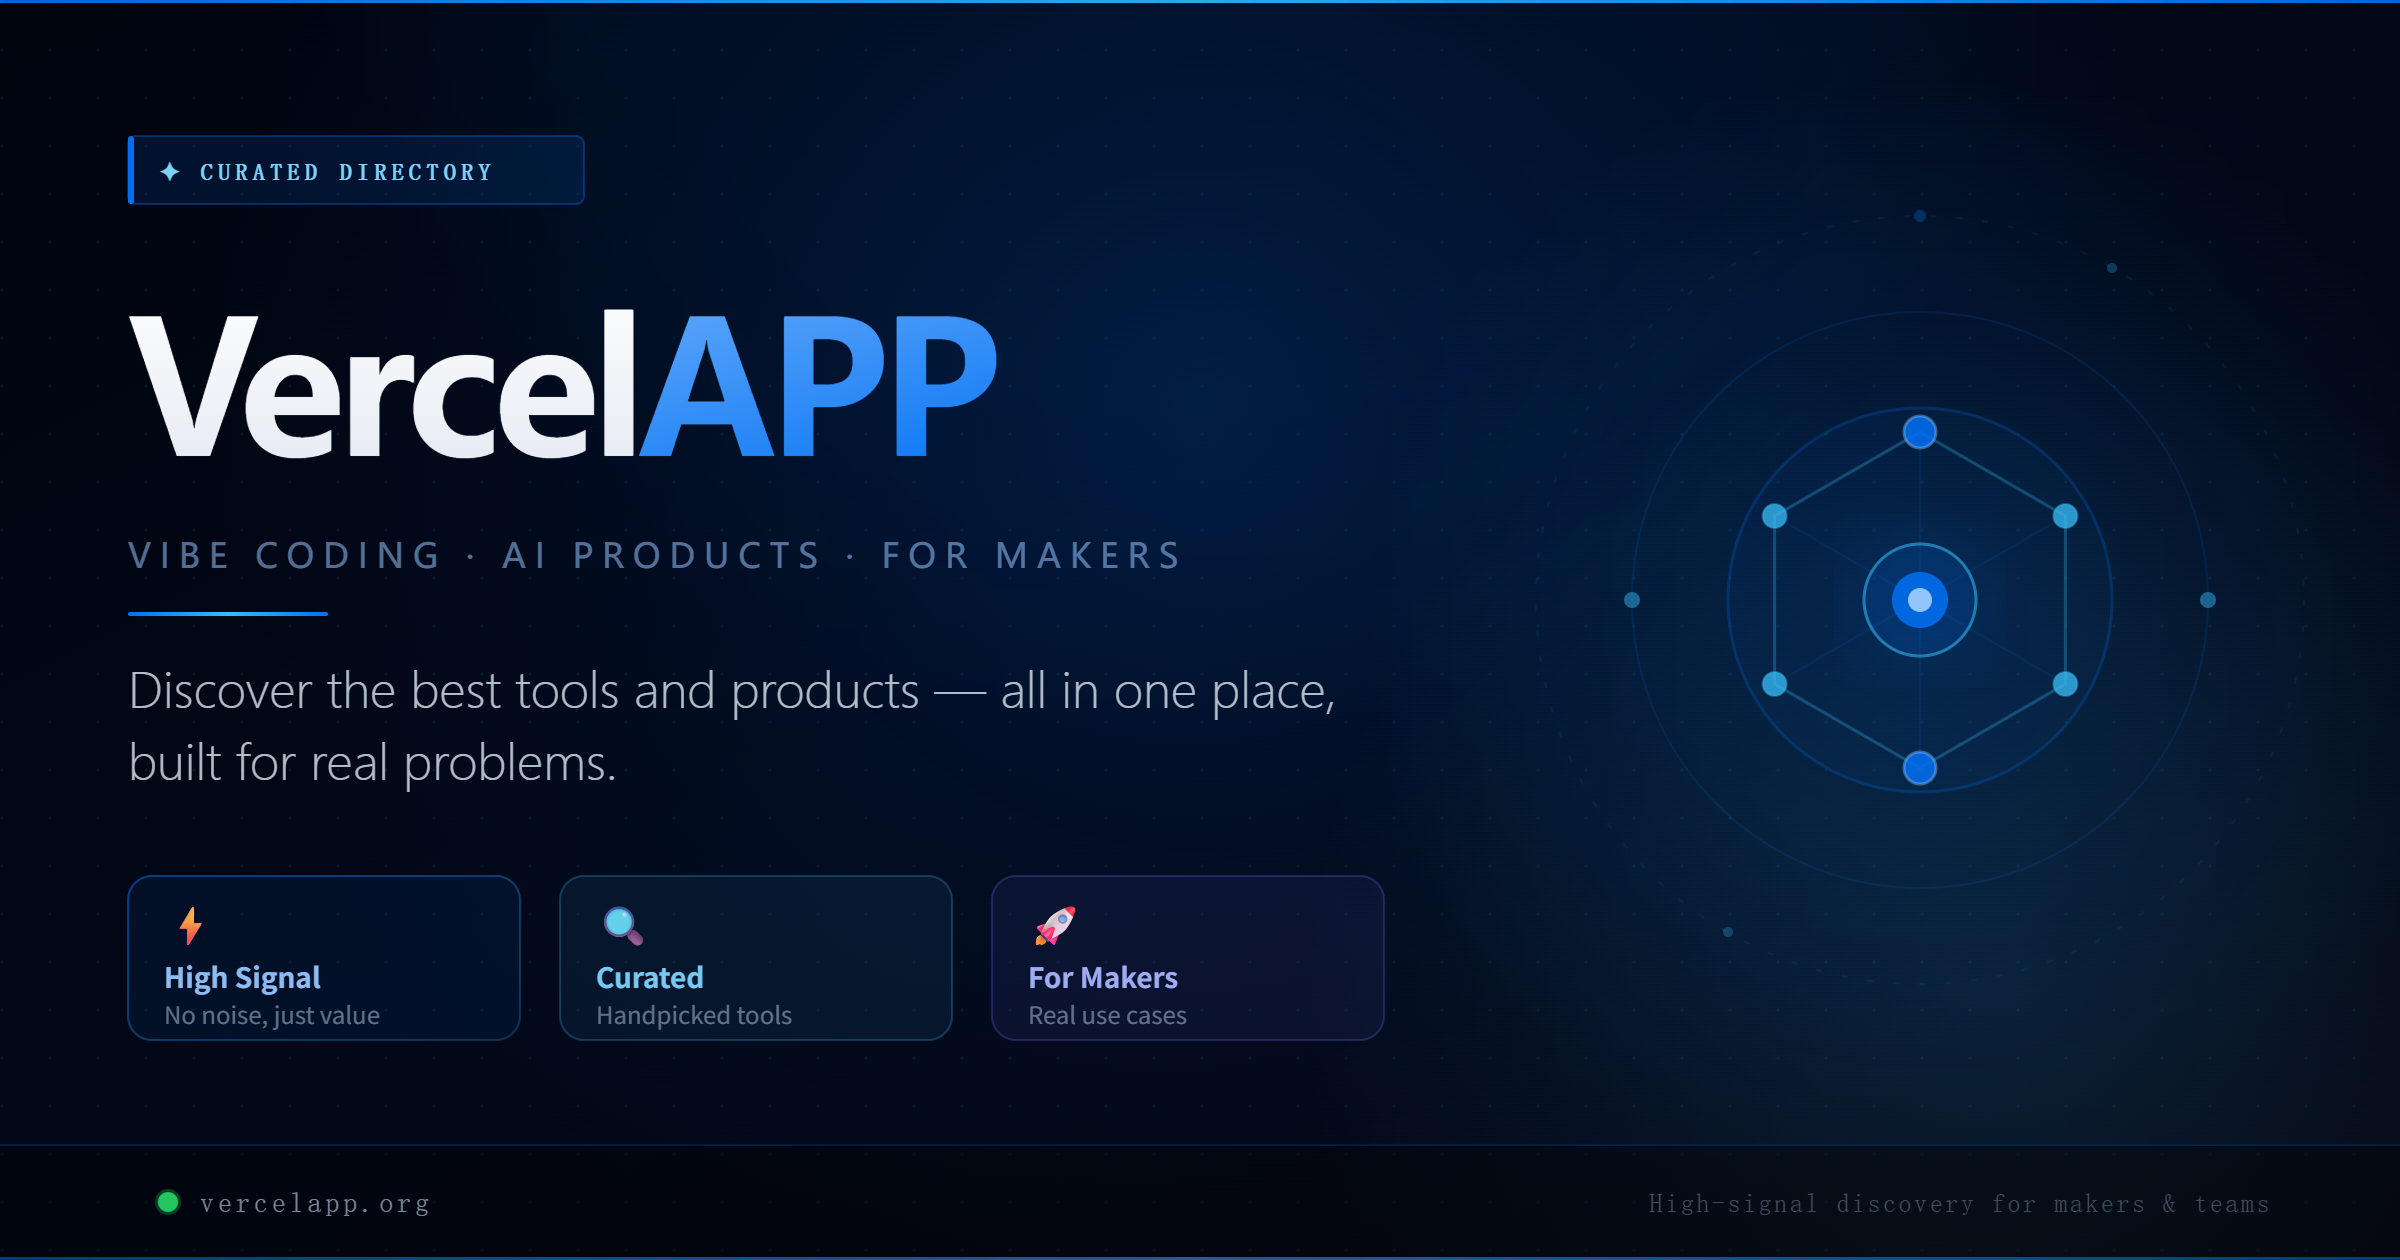
Featured Products
Tools and services from the A2A ecosystem directory.
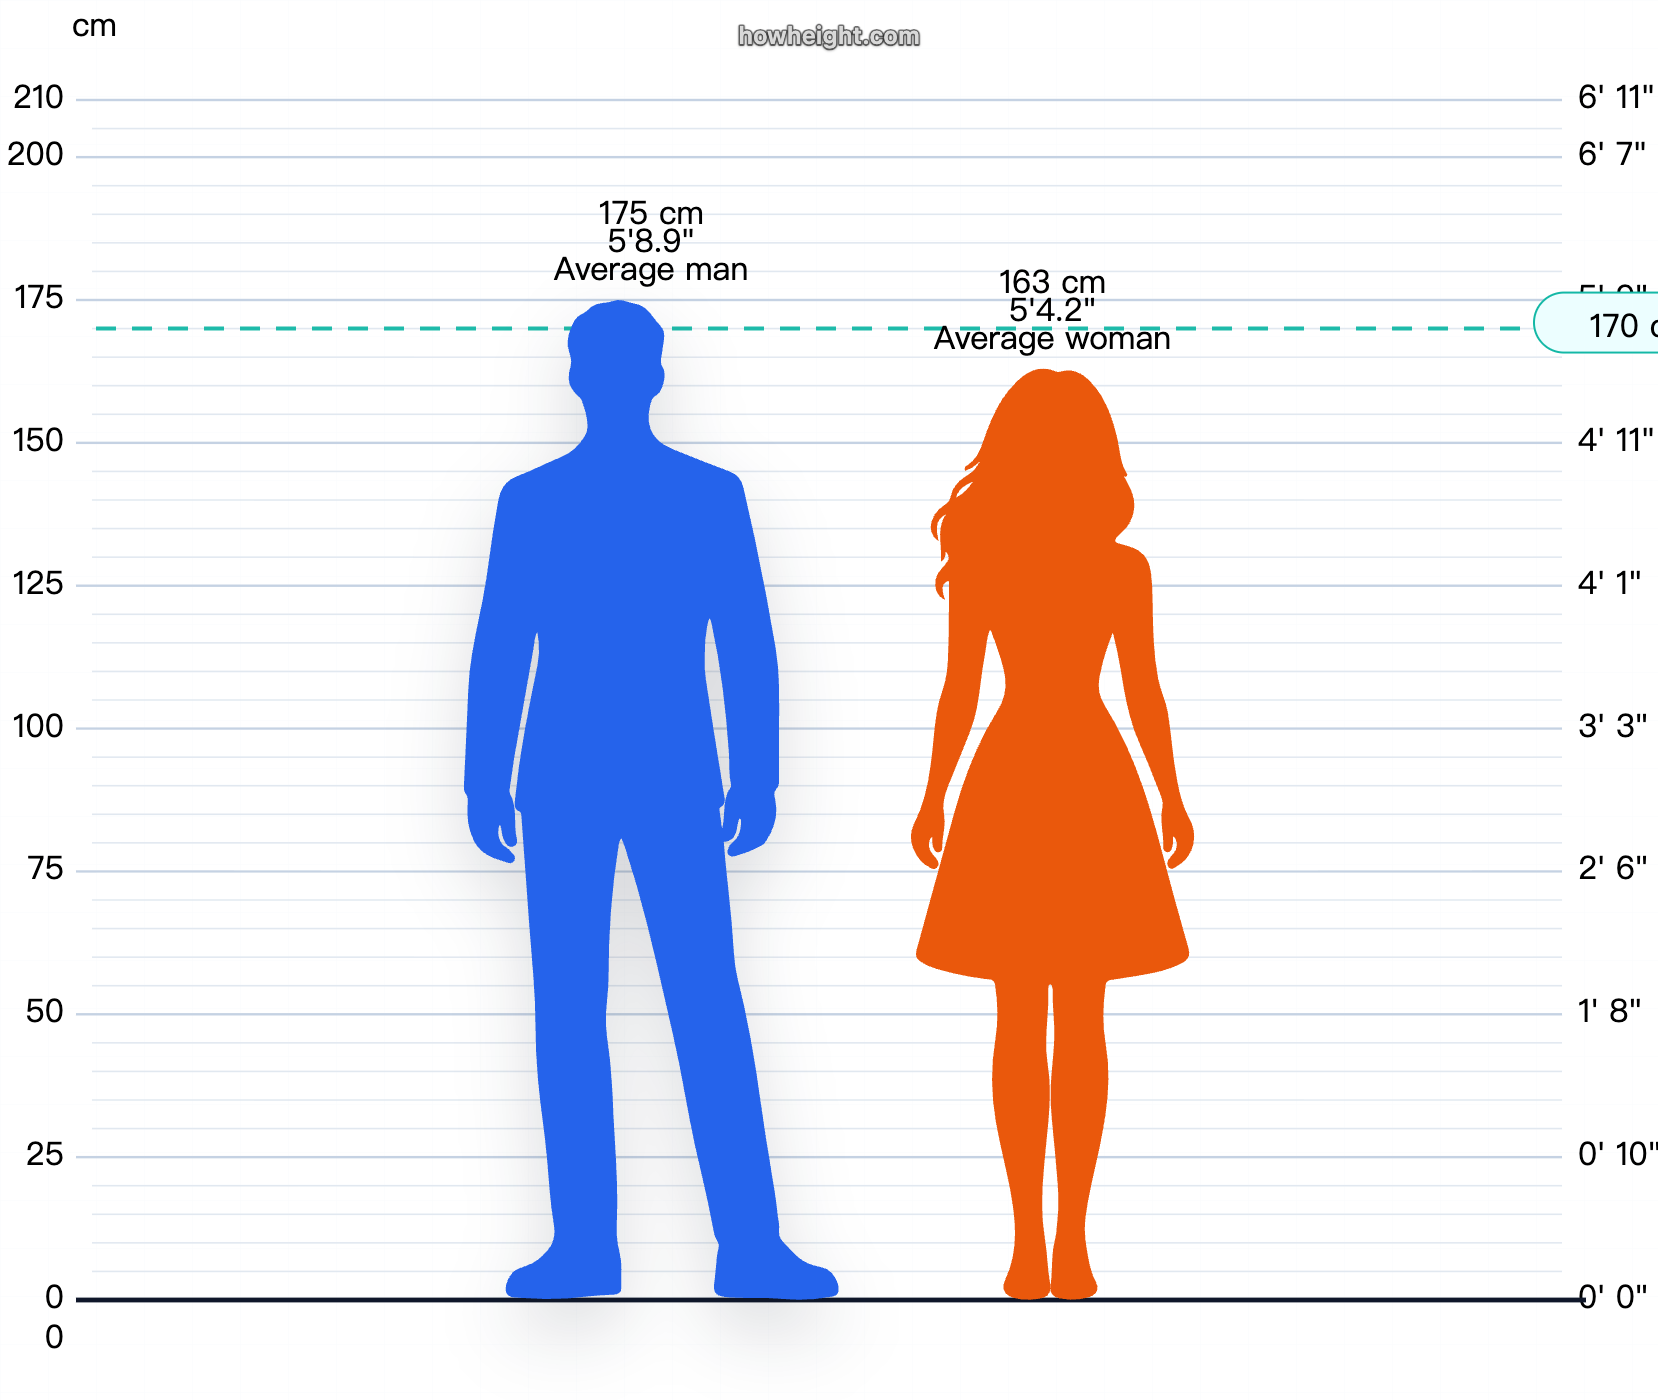
HowHeight is the most powerful free visual height comparison tool for people, animals, objects, and characters, with charts in cm and ft + in.

Turn complex PDFs into clean Markdown that people can review and AI tools can use.
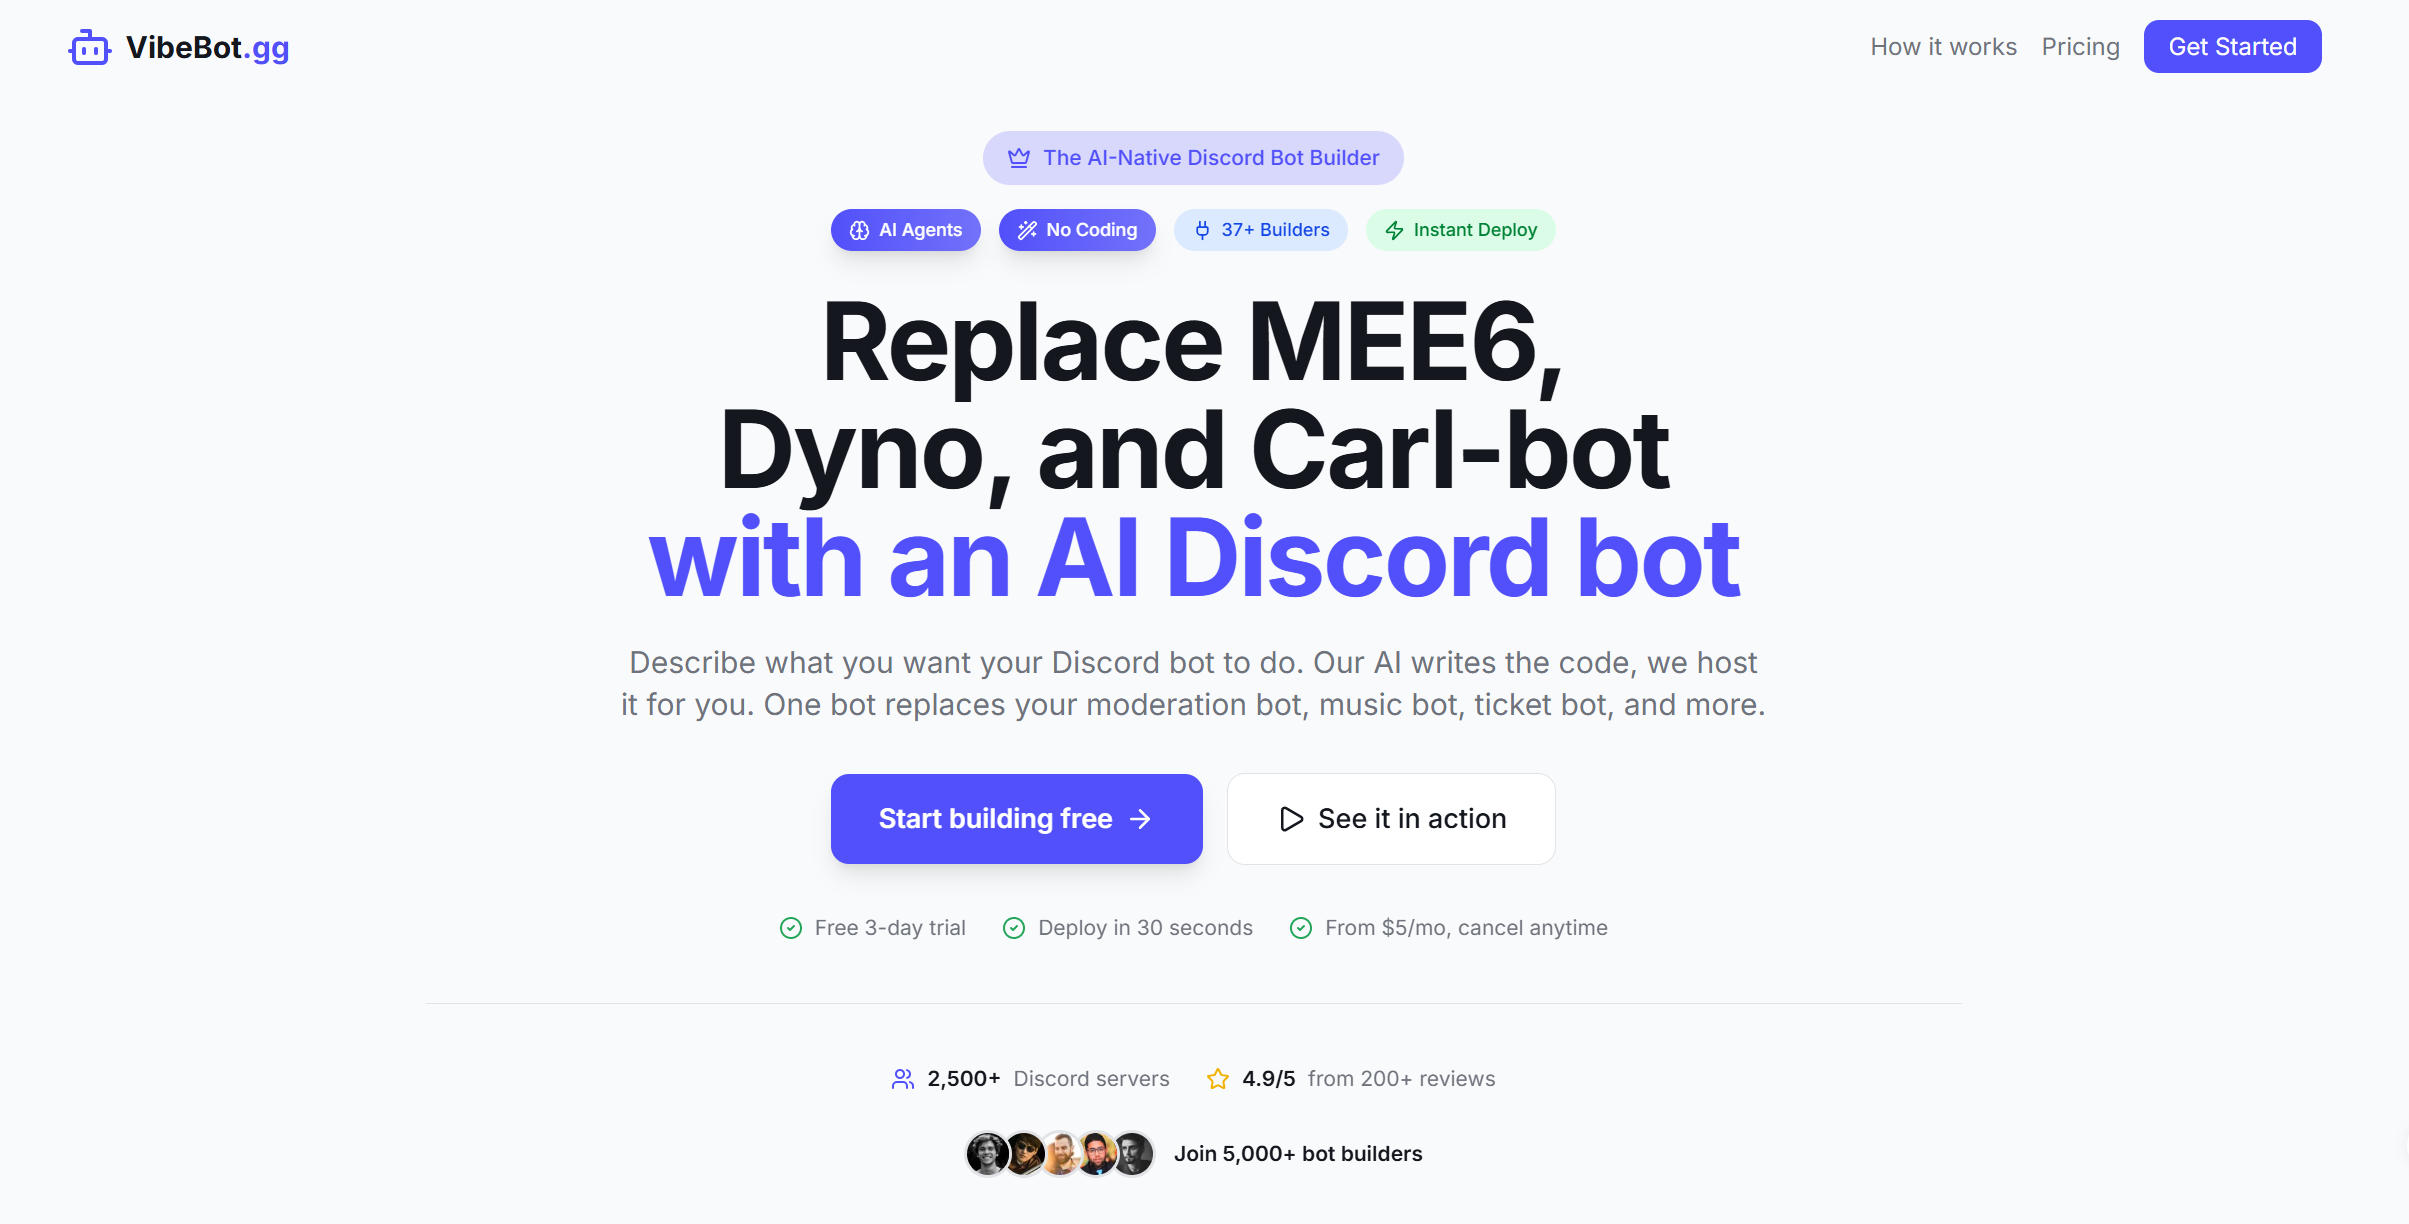
Create powerful Discord bots with AI. The easiest no-code bot maker for moderation, music, leveling, and custom commands.


Related Articles
Explore more content related to this topic
Building an A2A Currency Agent with LangGraph
This guide provides a detailed explanation of how to build an A2A-compliant agent using LangGraph and the Google Gemini model. We'll walk through the Currency Agent example from the A2A Python SDK, explaining each component, the flow of data, and how the A2A protocol facilitates agent interactions.
A2A Python Sample: Github Agent
How to use a2a-python to Create and Connect Github Agent with Google's Agent2Agent (A2A) Protocol
AP2 (Agent Payments Protocol) Usage Tutorial
"AP2 (Agent Payments Protocol) is a protocol for agent payments that supports both human-present and human-absent commerce flows. This tutorial provides detailed instructions on how to use the AP2 Python sample project."
A2A Protocol Specification (Python)
Comprehensive guide to the A2A protocol Python implementation specification, covering agent cards, message passing, task management, security authentication, and other core functionalities' data structures and object relationships, providing developers with a complete protocol implementation guide.
A2A Sample: Travel Planner OpenRouter
A2A implementation of Travel Planner with OpenRouter and Python a2a-sdk