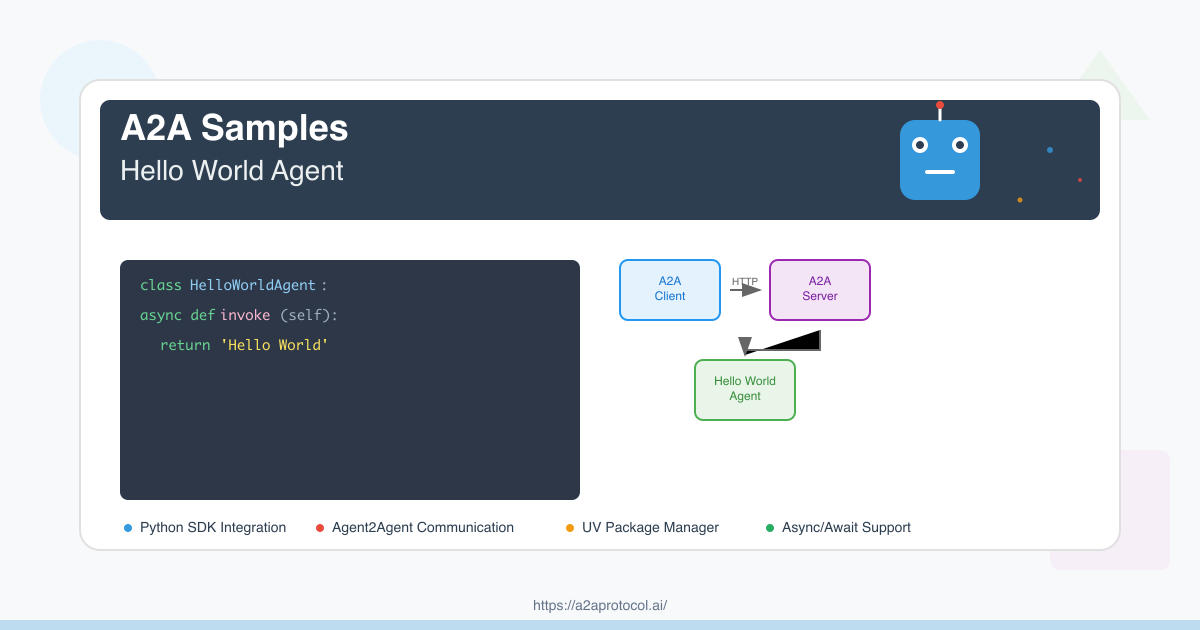
프로젝트 개요
이것은 A2A A2A Protocol를 기반으로 한 간단한 Hello World 에이전트 예제입니다. 이 프로젝트는 사용자 메시지에 응답하고 간단한 인사말을 반환할 수 있는 기본적인 지능형 에이전트 서버를 만드는 방법을 보여줍니다.
의존성 버전 설명
Python 버전 요구사항
- Python >= 3.10
주요 의존성 패키지
| 패키지명 | 버전 | 용도 |
|---|---|---|
a2a-sdk |
>= 0.2.5 | A2A 핵심 SDK, 에이전트 프레임워크 제공 |
uvicorn |
>= 0.34.2 | ASGI 서버, 웹 애플리케이션 실행용 |
click |
>= 8.1.8 | 명령줄 인터페이스 도구 |
httpx |
>= 0.28.1 | 비동기 HTTP 클라이언트 |
pydantic |
>= 2.11.4 | 데이터 검증 및 직렬화 |
python-dotenv |
>= 1.1.0 | 환경 변수 관리 |
langchain-google-genai |
>= 2.1.4 | Google Generative AI 통합 |
langgraph |
>= 0.4.1 | 언어 그래프 처리 프레임워크 |
프로젝트 구조
helloworld/
├── __init__.py              # 패키지 초기화 파일
├── __main__.py              # 메인 프로그램 진입점
├── agent_executor.py        # 에이전트 실행기 구현
├── test_client.py           # 테스트 클라이언트
├── pyproject.toml           # 프로젝트 설정 및 의존성
├── uv.lock                  # 의존성 잠금 파일
└── README.md                # 프로젝트 문서
환경 설정
1. UV 패키지 매니저 설치
아직 UV를 설치하지 않았다면 먼저 설치하세요:
# macOS/Linux
curl -LsSf https://astral.sh/uv/install.sh | sh

# 또는 pip 사용
pip install uv
2. 프로젝트 클론
git clone https://github.com/google-a2a/a2a-samples.git
cd a2a-samples/samples/python/agents/helloworld
3. 의존성 설치
UV는 pyproject.toml과 uv.lock 파일에 따라 자동으로 모든 의존성을 설치합니다:
uv sync
코드 아키텍처 설명
주요 컴포넌트
1. HelloWorldAgent (agent_executor.py)
class HelloWorldAgent:
    """Hello World Agent."""

    async def invoke(self) -> str:
        return 'Hello World'
2. HelloWorldAgentExecutor (agent_executor.py)
class HelloWorldAgentExecutor(AgentExecutor):
    """에이전트 실행기 구현"""

    async def execute(self, context: RequestContext, event_queue: EventQueue) -> None:
        result = await self.agent.invoke()
        event_queue.enqueue_event(new_agent_text_message(result))
3. 서버 설정 (__main__.py)
- 에이전트 스킬 정의 (AgentSkill)
- 공개 및 확장 에이전트 카드 설정 (AgentCard)
- 요청 핸들러 및 작업 저장소 설정
- Uvicorn 서버 시작
실행 단계
1. 에이전트 서버 시작
uv run .
서버는 http://localhost:9999에서 시작됩니다.
2. 테스트 클라이언트 실행
다른 터미널 창에서:
uv run test_client.py
3. 서비스 검증
다음 방법으로 서비스가 정상적으로 작동하는지 확인할 수 있습니다:
에이전트 카드 정보 접근
curl http://localhost:9999/.well-known/agent.json
확장 에이전트 카드 접근 (인증 필요)
curl -H "Authorization: Bearer dummy-token-for-extended-card" \
     http://localhost:9999/agent/authenticatedExtendedCard
프로젝트 플로우 차트
A2A 클라이언트와 서버 상호작용 플로우
sequenceDiagram
    participant Client as A2A Client
    participant Server as A2A Server
    participant Agent as HelloWorldAgent
    participant Queue as EventQueue

    Note over Client,Server: 1. 서비스 발견 단계
    Client->>Server: GET /.well-known/agent.json
    Server-->>Client: 공개 에이전트 카드 반환

    Note over Client,Server: 2. 확장 카드 검색 (선택사항)
    Client->>Server: GET /agent/authenticatedExtendedCard<br/>(with Bearer token)
    Server-->>Client: 확장 에이전트 카드 반환

    Note over Client,Server: 3. 메시지 전송 플로우
    Client->>Server: POST /agent/message<br/>{"message": {"role": "user", "parts": [...]}}

    Note over Server,Queue: 4. 서버 내부 처리
    Server->>Agent: HelloWorldAgentExecutor.execute() 호출
    Agent->>Agent: HelloWorldAgent.invoke() 실행
    Agent-->>Queue: "Hello World" 메시지 생성
    Queue-->>Server: 이벤트 큐 결과 반환

    Note over Client,Server: 5. 응답 반환
    Server-->>Client: 메시지 응답 반환

    Note over Client,Server: 6. 스트리밍 메시지 처리 (선택사항)
    Client->>Server: POST /agent/message/stream
    Server-->>Client: 메시지 청크를 스트리밍 반환
    Server-->>Client: 메시지 청크 1
    Server-->>Client: 메시지 청크 2
    Server-->>Client: 종료 마커
시스템 아키텍처 플로우 차트
graph TB
    subgraph "클라이언트 환경"
        C1[테스트 클라이언트 시작]
        C2[A2ACardResolver<br/>에이전트 카드 파싱]
        C3[A2AClient<br/>초기화]
        C4[메시지 요청 전송]
        C5[응답 처리]
    end

    subgraph "네트워크 통신"
        N1[HTTP/HTTPS 요청]
        N2[JSON 데이터 전송]
    end

    subgraph "서버 환경"
        S1[A2AStarletteApplication<br/>웹 서버]
        S2[DefaultRequestHandler<br/>요청 핸들러]
        S3[HelloWorldAgentExecutor<br/>에이전트 실행기]
        S4[HelloWorldAgent<br/>핵심 에이전트 로직]
        S5[InMemoryTaskStore<br/>작업 저장소]
        S6[EventQueue<br/>이벤트 큐]
    end

    subgraph "에이전트 설정"
        A1[공개 에이전트 카드<br/>기본 스킬]
        A2[확장 에이전트 카드<br/>향상된 스킬]
    end

    %% 클라이언트 플로우
    C1 --> C2
    C2 --> C3
    C3 --> C4
    C4 --> C5

    %% 네트워크 통신
    C4 --> N1
    N1 --> N2
    N2 --> S1
    S1 --> N2
    N2 --> C5

    %% 서버 플로우
    S1 --> S2
    S2 --> S3
    S3 --> S4
    S4 --> S6
    S6 --> S3
    S3 --> S2
    S2 --> S1

    %% 설정 연관
    A1 --> S1
    A2 --> S1
    S2 --> S5

    %% 스타일링
    style C3 fill:#e3f2fd
    style S1 fill:#f3e5f5
    style S4 fill:#e8f5e8
    style N2 fill:#fff3e0
API 엔드포인트
공개 엔드포인트
| 엔드포인트 | 메서드 | 설명 |
|---|---|---|
/.well-known/agent.json |
GET | 공개 에이전트 카드 정보 가져오기 |
/agent/message |
POST | 에이전트에게 메시지 전송 |
/agent/message/stream |
POST | 스트리밍 메시지 전송 |
인증 엔드포인트
| 엔드포인트 | 메서드 | 설명 | 인증 |
|---|---|---|---|
/agent/authenticatedExtendedCard |
GET | 확장 에이전트 카드 가져오기 | Bearer Token |
스킬 설정
기본 스킬
- ID:
hello_world - 이름: Returns hello world
- 설명: just returns hello world
- 예시: ['hi', 'hello world']
확장 스킬 (인증 필요)
- ID:
super_hello_world - 이름: Returns a SUPER Hello World
- 설명: A more enthusiastic greeting, only for authenticated users
- 예시: ['super hi', 'give me a super hello']
문제 해결
일반적인 문제
-
포트 점유
# 포트 사용 상황 확인 lsof -i :9999 # 점유 프로세스 종료 kill -9 <PID> -
의존성 설치 실패
# 캐시 정리 후 재설치 uv cache clean uv sync --reinstall -
Python 버전 비호환성
# Python 버전 확인
python --version
# 버전 >= 3.10 확인
확장 개발
새로운 스킬 추가
__main__.py에서 새로운AgentSkill정의agent_executor.py에서 로직 처리 수정- 에이전트 카드 설정 업데이트
외부 API 통합
pyproject.toml에 새로운 의존성 추가agent_executor.py에서 API 호출 구현- 비동기 응답 및 오류 처리
요약
이 Hello World 예제는 A2A SDK의 기본 사용법을 보여줍니다:
- 에이전트 서버 생성 및 설정
- 스킬 정의 및 관리
- 클라이언트-서버 통신
- 인증 및 확장 기능
이 예제를 통해 자신만의 지능형 에이전트 애플리케이션을 구축하는 방법을 빠르게 이해할 수 있습니다.
Featured Products
Tools and services from the A2A ecosystem directory.
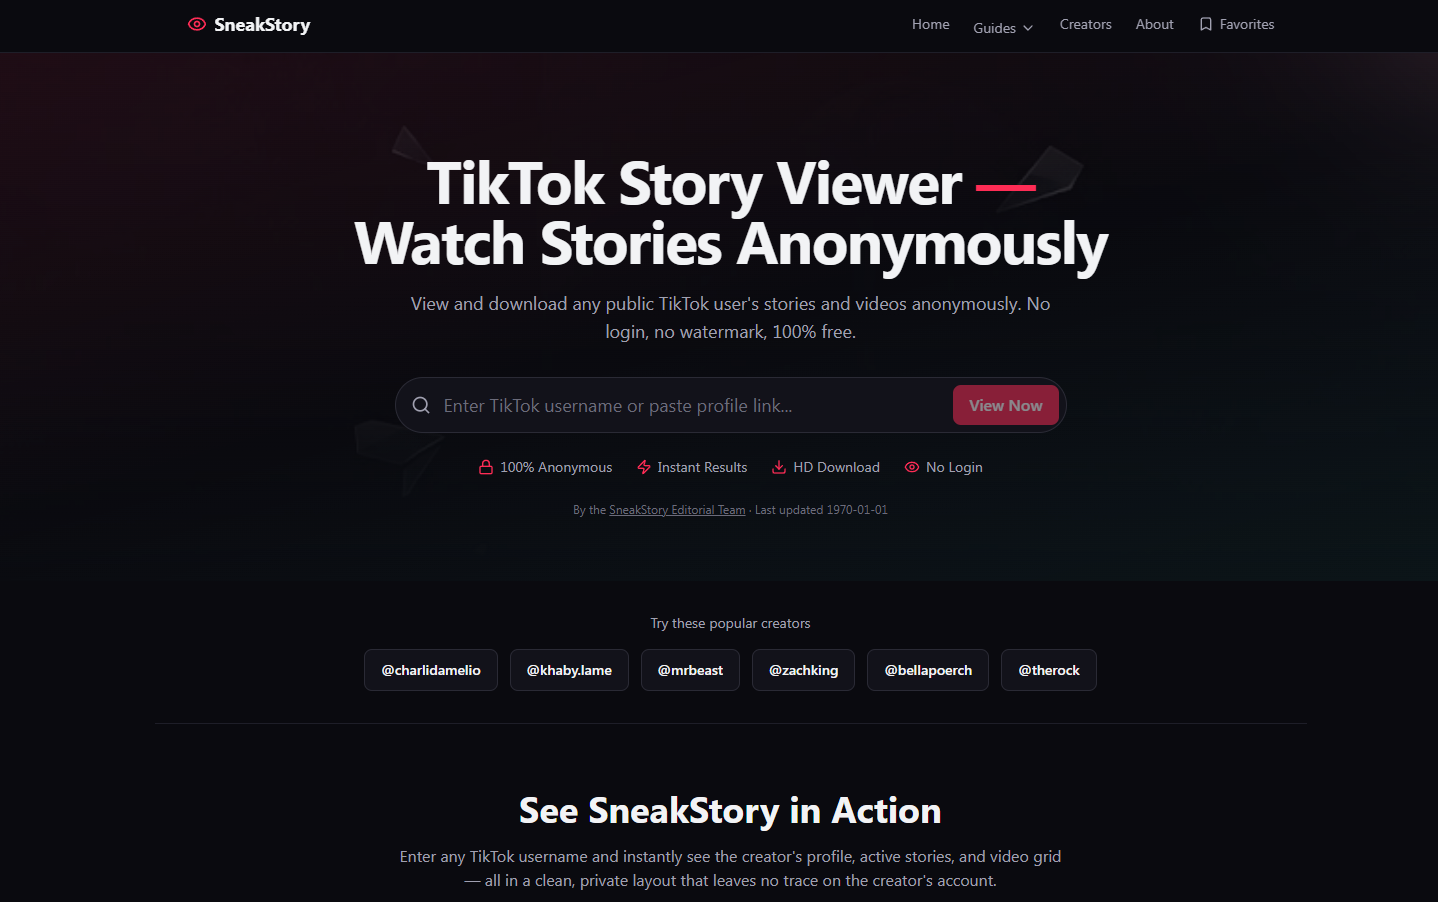
View and download any TikTok user's stories and videos anonymously with SneakStory. Free, no login required, no watermark. Just paste a username to watch.

Related Articles
Explore more content related to this topic
Building an A2A Currency Agent with LangGraph
This guide provides a detailed explanation of how to build an A2A-compliant agent using LangGraph and the Google Gemini model. We'll walk through the Currency Agent example from the A2A Python SDK, explaining each component, the flow of data, and how the A2A protocol facilitates agent interactions.
A2A Python Sample: Github Agent
How to use a2a-python to Create and Connect Github Agent with Google's Agent2Agent (A2A) Protocol
AP2 (Agent Payments Protocol) Usage Tutorial
"AP2 (Agent Payments Protocol) is a protocol for agent payments that supports both human-present and human-absent commerce flows. This tutorial provides detailed instructions on how to use the AP2 Python sample project."
A2A Protocol Specification (Python)
Comprehensive guide to the A2A protocol Python implementation specification, covering agent cards, message passing, task management, security authentication, and other core functionalities' data structures and object relationships, providing developers with a complete protocol implementation guide.
A2A Sample: Travel Planner OpenRouter
A2A implementation of Travel Planner with OpenRouter and Python a2a-sdk