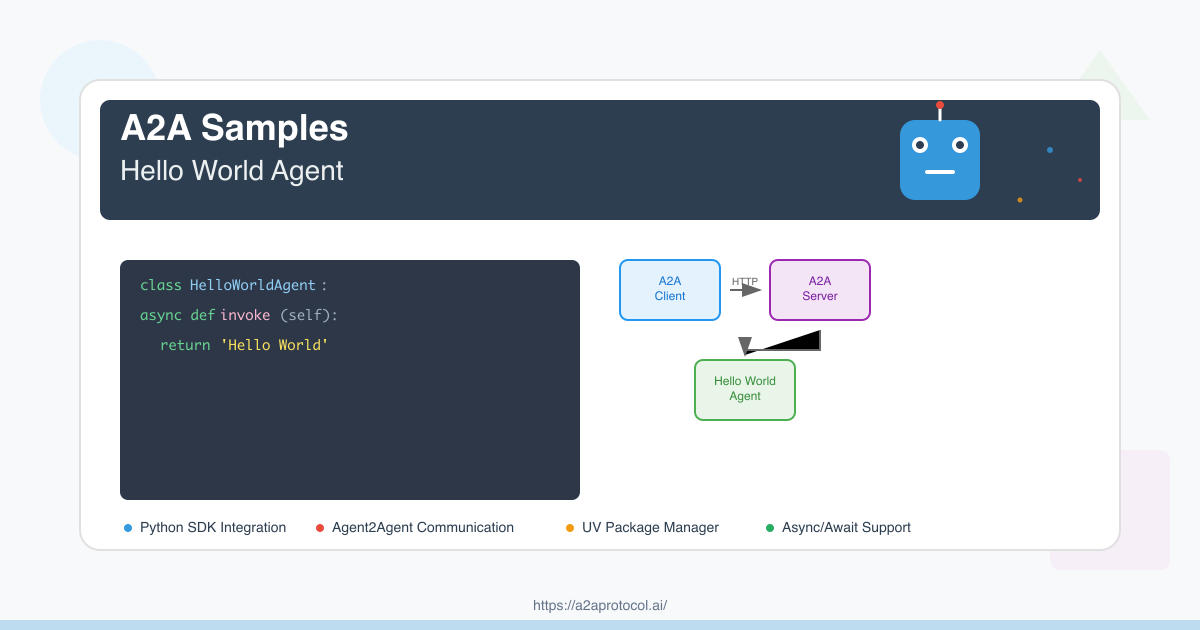
परियोजना अवलोकन
यह A2AA2A ProtocolK पर आधारित एक सरल Hello World एजेंट उदाहरण है। यह परियोजना दिखाती है कि कैसे एक बुनियादी intelligent एजेंट सर्वर बनाया जाए, जो user messages का जवाब दे सकता है और सरल greetings वापस कर सकता है।
Dependency Version विवरण
Python Version आवश्यकताएं
- Python >= 3.10
मुख्य Dependency Packages
| Package Name | Version | उपयोग |
|---|---|---|
a2a-sdk |
>= 0.2.5 | A2A मुख्य SDK, एजेंट framework प्रदान करता है |
uvicorn |
>= 0.34.2 | ASGI सर्वर, Web application चलाने के लिए |
click |
>= 8.1.8 | Command line interface tool |
httpx |
>= 0.28.1 | Asynchronous HTTP client |
pydantic |
>= 2.11.4 | Data validation और serialization |
python-dotenv |
>= 1.1.0 | Environment variable management |
langchain-google-genai |
>= 2.1.4 | Google Generative AI integration |
langgraph |
>= 0.4.1 | Language graph processing framework |
परियोजना संरचना
helloworld/
├── __init__.py              # Package initialization file
├── __main__.py              # Main program entry point
├── agent_executor.py        # Agent executor implementation
├── test_client.py           # Test client
├── pyproject.toml           # Project configuration और dependencies
├── uv.lock                  # Dependency lock file
└── README.md                # Project documentation
Environment Setup
1. UV Package Manager Install करें
यदि आपने अभी तक UV install नहीं किया है, तो पहले install करें:
# macOS/Linux
curl -LsSf https://astral.sh/uv/install.sh | sh

# या pip का उपयोग करें
pip install uv
2. Project Clone करें
git clone https://github.com/google-a2a/a2a-samples.git
cd a2a-samples/samples/python/agents/helloworld
3. Dependencies Install करें
UV automatically pyproject.toml और uv.lock files के अनुसार सभी dependencies install करेगा:
uv sync
Code Architecture विवरण
मुख्य Components
1. HelloWorldAgent (agent_executor.py)
class HelloWorldAgent:
    """Hello World Agent."""

    async def invoke(self) -> str:
        return 'Hello World'
2. HelloWorldAgentExecutor (agent_executor.py)
class HelloWorldAgentExecutor(AgentExecutor):
    """Agent executor implementation"""

    async def execute(self, context: RequestContext, event_queue: EventQueue) -> None:
        result = await self.agent.invoke()
        event_queue.enqueue_event(new_agent_text_message(result))
3. Server Configuration (__main__.py)
- Agent skills define करना (AgentSkill)
- Public और extended agent cards configure करना (AgentCard)
- Request handlers और task storage setup करना
- Uvicorn server start करना
चलाने के चरण
1. Agent Server Start करें
uv run .
Server http://localhost:9999 पर start होगा।
2. Test Client चलाएं
दूसरे terminal window में:
uv run test_client.py
3. Service Verify करें
आप निम्नलिखित तरीकों से verify कर सकते हैं कि service सही तरीके से चल रही है:
Agent Card Information Access करें
curl http://localhost:9999/.well-known/agent.json
Extended Agent Card Access करें (Authentication Required)
curl -H "Authorization: Bearer dummy-token-for-extended-card" \
     http://localhost:9999/agent/authenticatedExtendedCard
Project Flow Chart
A2A Client और Server Interaction Flow
sequenceDiagram
    participant Client as A2A Client
    participant Server as A2A Server
    participant Agent as HelloWorldAgent
    participant Queue as EventQueue

    Note over Client,Server: 1. Service Discovery Phase
    Client->>Server: GET /.well-known/agent.json
    Server-->>Client: Public agent card return करें

    Note over Client,Server: 2. Extended Card Retrieval (Optional)
    Client->>Server: GET /agent/authenticatedExtendedCard<br/>(with Bearer token)
    Server-->>Client: Extended agent card return करें

    Note over Client,Server: 3. Message Sending Flow
    Client->>Server: POST /agent/message<br/>{"message": {"role": "user", "parts": [...]}}

    Note over Server,Queue: 4. Server Internal Processing
    Server->>Agent: HelloWorldAgentExecutor.execute() call करें
    Agent->>Agent: HelloWorldAgent.invoke() execute करें
    Agent-->>Queue: "Hello World" message generate करें
    Queue-->>Server: Event queue result return करें

    Note over Client,Server: 5. Response Return
    Server-->>Client: Message response return करें

    Note over Client,Server: 6. Streaming Message Processing (Optional)
    Client->>Server: POST /agent/message/stream
    Server-->>Client: Message chunks को streaming return करें
    Server-->>Client: Message Chunk 1
    Server-->>Client: Message Chunk 2
    Server-->>Client: End Marker
System Architecture Flow Chart
graph TB
    subgraph "Client Environment"
        C1[Test Client Startup]
        C2[A2ACardResolver<br/>Agent Card Parse]
        C3[A2AClient<br/>Initialization]
        C4[Send Message Request]
        C5[Process Response]
    end

    subgraph "Network Communication"
        N1[HTTP/HTTPS Request]
        N2[JSON Data Transfer]
    end

    subgraph "Server Environment"
        S1[A2AStarletteApplication<br/>Web Server]
        S2[DefaultRequestHandler<br/>Request Handler]
        S3[HelloWorldAgentExecutor<br/>Agent Executor]
        S4[HelloWorldAgent<br/>Core Agent Logic]
        S5[InMemoryTaskStore<br/>Task Storage]
        S6[EventQueue<br/>Event Queue]
    end

    subgraph "Agent Configuration"
        A1[Public Agent Card<br/>Basic Skills]
        A2[Extended Agent Card<br/>Enhanced Skills]
    end

    %% Client Flow
    C1 --> C2
    C2 --> C3
    C3 --> C4
    C4 --> C5

    %% Network Communication
    C4 --> N1
    N1 --> N2
    N2 --> S1
    S1 --> N2
    N2 --> C5

    %% Server Flow
    S1 --> S2
    S2 --> S3
    S3 --> S4
    S4 --> S6
    S6 --> S3
    S3 --> S2
    S2 --> S1

    %% Configuration Association
    A1 --> S1
    A2 --> S1
    S2 --> S5

    %% Styling
    style C3 fill:#e3f2fd
    style S1 fill:#f3e5f5
    style S4 fill:#e8f5e8
    style N2 fill:#fff3e0
API Endpoints
Public Endpoints
| Endpoint | Method | विवरण |
|---|---|---|
/.well-known/agent.json |
GET | Public agent card information प्राप्त करें |
/agent/message |
POST | Agent को message भेजें |
/agent/message/stream |
POST | Streaming message भेजें |
Authentication Endpoints
| Endpoint | Method | विवरण | Authentication |
|---|---|---|---|
/agent/authenticatedExtendedCard |
GET | Extended agent card प्राप्त करें | Bearer Token |
Skills Configuration
Basic Skills
- ID:
hello_world - Name: Returns hello world
- Description: just returns hello world
- Examples: ['hi', 'hello world']
Extended Skills (Authentication Required)
- ID:
super_hello_world - Name: Returns a SUPER Hello World
- Description: A more enthusiastic greeting, only for authenticated users
- Examples: ['super hi', 'give me a super hello']
Troubleshooting
सामान्य समस्याएं
-
Port Occupied
# Port usage check करें lsof -i :9999 # Occupied process को kill करें kill -9 <PID> -
Dependency Installation Failed
# Cache clean करके reinstall करें uv cache clean uv sync --reinstall -
Python Version Incompatible
# Python version check करें
python --version
# Version >= 3.10 ensure करें
Extension Development
नई Skills Add करना
__main__.pyमें नयाAgentSkilldefine करेंagent_executor.pyमें logic processing modify करें- Agent card configuration update करें
External API Integration
pyproject.tomlमें नई dependencies add करेंagent_executor.pyमें API calls implement करें- Asynchronous responses और errors handle करें
सारांश
यह Hello World example A2A SDK के basic usage को दिखाता है, जिसमें शामिल है:
- Agent server का creation और configuration
- Skills definition और management
- Client-server communication
- Authentication और extended functionality
इस example के माध्यम से, आप जल्दी से समझ सकते हैं कि अपने intelligent agent applications कैसे build करें।
Featured Products
Tools and services from the A2A ecosystem directory.
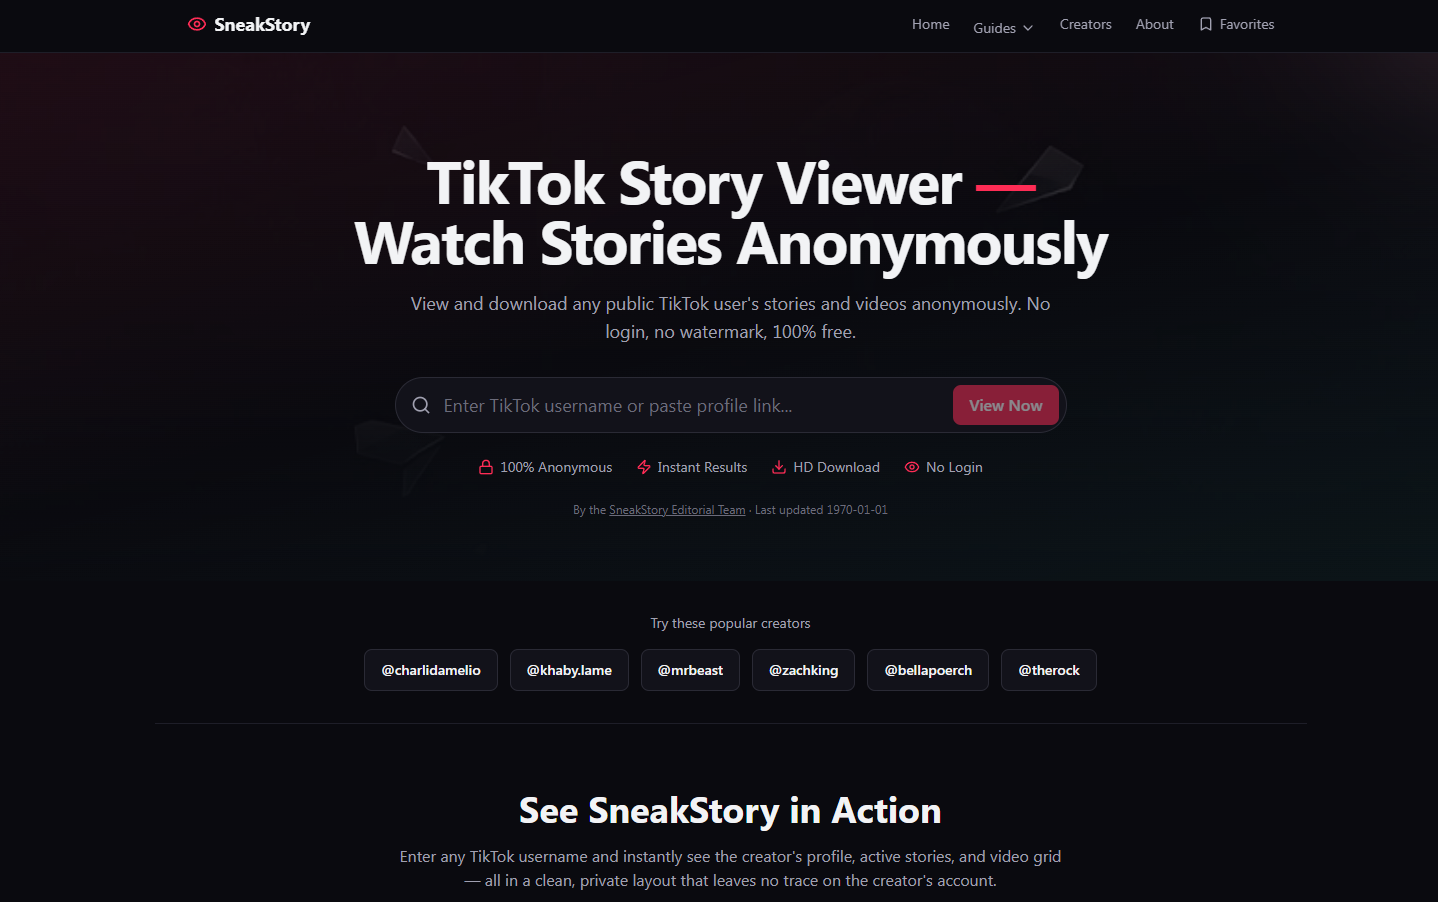
View and download any TikTok user's stories and videos anonymously with SneakStory. Free, no login required, no watermark. Just paste a username to watch.

Related Articles
Explore more content related to this topic
Building an A2A Currency Agent with LangGraph
This guide provides a detailed explanation of how to build an A2A-compliant agent using LangGraph and the Google Gemini model. We'll walk through the Currency Agent example from the A2A Python SDK, explaining each component, the flow of data, and how the A2A protocol facilitates agent interactions.
A2A Python Sample: Github Agent
How to use a2a-python to Create and Connect Github Agent with Google's Agent2Agent (A2A) Protocol
AP2 (Agent Payments Protocol) Usage Tutorial
"AP2 (Agent Payments Protocol) is a protocol for agent payments that supports both human-present and human-absent commerce flows. This tutorial provides detailed instructions on how to use the AP2 Python sample project."
A2A Protocol Specification (Python)
Comprehensive guide to the A2A protocol Python implementation specification, covering agent cards, message passing, task management, security authentication, and other core functionalities' data structures and object relationships, providing developers with a complete protocol implementation guide.
A2A Sample: Travel Planner OpenRouter
A2A implementation of Travel Planner with OpenRouter and Python a2a-sdk