
Introduction
Welcome to the Agent2Agent (A2A) Python SDK Tutorial! This comprehensive guide will walk you through building and deploying A2A agents using Python.
A2A (Agent2Agent) is a protocol that enables different AI agents to communicate with each other in a standardized way. Whether you're building a simple agent or integrating advanced LLM capabilities, this tutorial will help you understand the core concepts and implementation details.
By the end of this tutorial, you'll:
- Understand the fundamentals of the A2A protocol
- Know how to set up a Python environment for A2A development
- Define Agent Skills and Agent Cards
- Implement an Agent Executor to process tasks
- Run an A2A server and interact with it using a client
- Explore advanced features like streaming and multi-turn conversations
- Have a solid foundation for building your own A2A-compliant applications
This tutorial includes two examples:
- A simple "Helloworld" agent that returns a static response
- A more advanced "Currency Agent" powered by Gemini LLM using LangGraph
Let's get started!
1. Environment Setup
Prerequisites
- Python 3.10 or higher
- Access to a terminal or command prompt
- Git, for cloning the repository
- A code editor (e.g., VS Code) is recommended
Clone the Repository
Start by cloning the A2A Python SDK repository:
git clone https://github.com/google/a2a-python.git -b main --depth 1
cd a2a-python
Python Environment & SDK Installation
We recommend using a virtual environment for Python projects:
Create and activate a virtual environment
Mac/Linux:
python -m venv .venv
source .venv/bin/activate
Windows:
python -m venv .venv
.venv\Scripts\activate
Install the A2A SDK and its dependencies
pip install --upgrade a2a-sdk
This installs the SDK in "editable" mode (-e), meaning changes to the SDK source code are immediately available. It also installs development dependencies specified in pyproject.toml.
Verify Installation
After installation, verify that you can import the A2A package:
python -c "import a2a; print('A2A SDK imported successfully')"
If this prints "A2A SDK imported successfully", your environment is ready!
2. Core A2A Concepts
Before diving into implementation, let's understand two fundamental A2A concepts: Agent Skills and Agent Cards.
Agent Skills
An Agent Skill describes a specific capability that your agent can perform. Think of it as a function or service that the agent provides.
Key attributes of an AgentSkill (defined in a2a.types):
id: A unique identifier for the skillname: A human-readable namedescription: A detailed explanation of what the skill doestags: Keywords for categorization and discoveryexamples: Sample prompts or use casesinputModes/outputModes: Supported MIME types for input and output
Here's a simple example from the Helloworld agent:
skill = AgentSkill(
    id='hello_world',
    name='Returns hello world',
    description='just returns hello world',
    tags=['hello world'],
    examples=['hi', 'hello world'],
)
Agent Card
The Agent Card is like a digital business card for your agent. It's a JSON document typically available at a .well-known/agent.json endpoint that tells clients what the agent can do and how to interact with it.
Key attributes of an AgentCard (defined in a2a.types):
name,description,version: Basic identity informationurl: The endpoint where the A2A service can be reachedcapabilities: Supported A2A features likestreamingorpushNotificationsauthentication: Details on how clients should authenticatedefaultInputModes/defaultOutputModes: Default MIME types for the agentskills: A list ofAgentSkillobjects that the agent offers
Here's the Agent Card for our Helloworld example:
agent_card = AgentCard(
    name='Hello World Agent',
    description='Just a hello world agent',
    url='http://localhost:9999/', # Agent will run here
    version='1.0.0',
    defaultInputModes=['text'],
    defaultOutputModes=['text'],
    capabilities=AgentCapabilities(), # Basic capabilities
    skills=[skill], # Includes the skill defined above
    authentication=AgentAuthentication(schemes=['public']), # No auth needed
)
This card defines a simple agent that:
- Is named "Hello World Agent"
- Runs at
http://localhost:9999/ - Supports text inputs and outputs
- Has the
hello_worldskill - Requires no authentication
3. Implementing the Agent Executor
The core logic of how an A2A agent processes requests and generates responses is handled by an Agent Executor. The A2A Python SDK provides an abstract base class a2a.server.agent_execution.AgentExecutor that you implement.
AgentExecutor Interface
The AgentExecutor class defines two primary methods:
async def execute(self, context: RequestContext, event_queue: EventQueue): Handles incoming requests that expect a response or a stream of events.async def cancel(self, context: RequestContext, event_queue: EventQueue): Handles requests to cancel an ongoing task.
The RequestContext provides information about the incoming request, and the EventQueue is used to send events back to the client.
Helloworld Agent Executor
Let's look at a simple implementation from the Helloworld example:
# examples/helloworld/agent_executor.py
from typing_extensions import override

from a2a.server.agent_execution import AgentExecutor, RequestContext
from a2a.server.events import EventQueue
from a2a.utils import new_agent_text_message


class HelloWorldAgent:
    """Hello World Agent."""

    async def invoke(self) -> str:
        return 'Hello World'


class HelloWorldAgentExecutor(AgentExecutor):
    """Test AgentProxy Implementation."""

    def __init__(self):
        self.agent = HelloWorldAgent()

    @override
    async def execute(
        self,
        context: RequestContext,
        event_queue: EventQueue,
    ) -> None:
        result = await self.agent.invoke()
        event_queue.enqueue_event(new_agent_text_message(result))

    @override
    async def cancel(
        self, context: RequestContext, event_queue: EventQueue
    ) -> None:
        raise Exception('cancel not supported')
In this code:
HelloWorldAgentis a simple class that returns "Hello World" when invokedHelloWorldAgentExecutorimplements theAgentExecutorinterface:- The
executemethod callsself.agent.invoke()to get the "Hello World" string - It then creates a
Messageobject and enqueues it on theevent_queue - The
cancelmethod raises an exception since it's not supported in this basic agent
- The
The AgentExecutor acts as the bridge between the A2A protocol (managed by server) and your agent's specific logic.
4. Starting the A2A Server
Now that we have our Agent Card and Agent Executor, we can set up and start the A2A server.
Server Setup in Helloworld
Here's how the Helloworld example initializes and starts a server:
# examples/helloworld/__main__.py
from agent_executor import HelloWorldAgentExecutor

from a2a.server.apps import A2AStarletteApplication
from a2a.server.request_handlers import DefaultRequestHandler
from a2a.server.tasks import InMemoryTaskStore
from a2a.types import (
    AgentCard,
    AgentSkill,
    AgentCapabilities,
    AgentAuthentication,
)
import uvicorn

if __name__ == '__main__':
    # Agent Skill and Card definition from earlier...

    # 1. Request Handler
    request_handler = DefaultRequestHandler(
        agent_executor=HelloWorldAgentExecutor(),
        task_store=InMemoryTaskStore(), # Provide a task store
    )

    # 2. A2A Starlette Application
    server_app_builder = A2AStarletteApplication(
        agent_card=agent_card, http_handler=request_handler
    )

    # 3. Start Server using Uvicorn
    uvicorn.run(server_app_builder.build(), host='0.0.0.0', port=9999)
Let's break this down:
-
DefaultRequestHandler:- Takes your
AgentExecutorimplementation and aTaskStore - Routes incoming A2A RPC calls to the appropriate methods on your executor
- Uses
TaskStoreto manage the lifecycle of tasks
- Takes your
-
A2AStarletteApplication:- Initialized with the
agent_cardandrequest_handler - Will expose the agent card at
/.well-known/agent.jsonendpoint
- Initialized with the
-
Start Server with Uvicorn:
- The application is run using
uvicorn.run() host='0.0.0.0'makes it accessible on all network interfacesport=9999matches the URL in the Agent Card
- The application is run using
Running the Helloworld Server
To run the Helloworld server:
# from the a2a-python directory
python examples/helloworld/__main__.py
You should see output indicating the server is running:
INFO:     Started server process [xxxxx]
INFO:     Waiting for application startup.
INFO:     Application startup complete.
INFO:     Uvicorn running on http://0.0.0.0:9999 (Press CTRL+C to quit)
5. Interacting with the Server
With the Helloworld server running, let's send some requests to it using the A2A client.
The Helloworld Test Client
Open a new terminal window, activate your virtual environment, and run:
# from the a2a-python directory
python examples/helloworld/test_client.py
Understanding the Client Code
Let's look at key parts of the client code:
Fetching the Agent Card & Initializing the Client
async with httpx.AsyncClient() as httpx_client:
    client = await A2AClient.get_client_from_agent_card_url(
        httpx_client, 'http://localhost:9999'
    )
This fetches the agent card from /.well-known/agent.json and initializes the client.
Sending a Non-Streaming Message
from a2a.types import (
    MessageSendParams,
    SendMessageRequest,
    SendStreamingMessageRequest,
)
# ...
send_message_payload: dict[str, Any] = {
    'message': {
        'role': 'user',
        'parts': [{'type': 'text', 'text': 'how much is 10 USD in INR?'}],
        'messageId': uuid4().hex,
    },
}
request = SendMessageRequest(
    params=MessageSendParams(**send_message_payload)
)

response = await client.send_message(request)
print(response.model_dump(mode='json', exclude_none=True))
This sends a request to the message/send endpoint and prints the response.
Sending a Streaming Message
streaming_request = SendStreamingMessageRequest(
    params=MessageSendParams(**send_message_payload)
)

stream_response = client.send_message_streaming(streaming_request)
async for chunk in stream_response:
    print(chunk.model_dump(mode='json', exclude_none=True))
This sends a request to the message/stream endpoint and prints each chunk as it arrives.
Expected Output
When you run test_client.py, you'll see JSON outputs similar to:
// Non-streaming response
{"jsonrpc":"2.0","id":"xxxxxxxx","result":{"type":"message","role":"agent","parts":[{"type":"text","text":"Hello World"}],"messageId":"yyyyyyyy"}}
// Streaming response (one chunk)
{"jsonrpc":"2.0","id":"zzzzzzzz","result":{"type":"message","role":"agent","parts":[{"type":"text","text":"Hello World"}],"messageId":"wwwwwwww","final":true}}
6. Advanced Features: Streaming & Multi-Turn Interactions
The Helloworld example demonstrates basic A2A mechanics. For more advanced features, let's explore the LangGraph example which implements a "Currency Agent" using the Gemini model.
Setting up the LangGraph Example
-
Get a Gemini API Key from Google AI Studio
-
Create a
.envfile ina2a-python/examples/langgraph/:# In a2a-python/examples/langgraph/ echo "GOOGLE_API_KEY=YOUR_API_KEY_HERE" > .envReplace
YOUR_API_KEY_HEREwith your actual Gemini API key.
Running the LangGraph Server
# From a2a-python/examples/langgraph/
python __main__.py
This starts the server on http://localhost:10000.
Interacting with the LangGraph Agent
In a new terminal:
# From a2a-python/examples/langgraph/
python test_client.py
Key Features Demonstrated
The LangGraph example showcases several advanced A2A concepts:
1. LLM Integration
The CurrencyAgent (in examples/langgraph/agent.py) uses ChatGoogleGenerativeAI and LangGraph's create_react_agent to process user queries, demonstrating how to power an agent with a real LLM.
2. Task State Management
- The server uses an
InMemoryTaskStoreto track task state CurrencyAgentExecutorinteracts with theRequestContextto understand the current task- For
message/send, the response includes a fullTaskobject if execution involves multiple steps - The test client demonstrates getting a
Taskobject and querying it withget_task
3. Streaming with Task Events
The executor enqueues different types of events:
TaskStatusUpdateEvent: For intermediate updates (e.g., "Looking up exchange rates...")TaskArtifactUpdateEvent: For the final answer- A final
TaskStatusUpdateEventwithstate=TaskState.completedto end the stream
4. Multi-Turn Conversation
The CurrencyAgent can ask for clarification if a query is ambiguous:
- It sends a
TaskStatusUpdateEventwithstate=TaskState.input_requiredand a question - The client can then send a second message with the same
taskIdandcontextIdto continue the conversation
Exploring the LangGraph Code
Key files in examples/langgraph/:
__main__.py: Server setup with streaming capabilities enabledagent.py: LLM-powered agent with tool definitionsagent_executor.py: Implementation of theexecutemethod with event handlingtest_client.py: Demonstrations of various interaction patterns
7. Next Steps
Congratulations on completing this A2A Python SDK Tutorial! You've learned how to:
- Set up your environment for A2A development
- Define Agent Skills and Agent Cards
- Implement an Agent Executor
- Run an A2A server and interact with it
- Explore advanced features like streaming and multi-turn conversations
Where to Go From Here
-
Explore More Examples:
- Check out other examples in the
a2a-python/examples/directory - The main A2A repository has samples for other languages and frameworks
- Check out other examples in the
-
Deepen Your Protocol Understanding:
- Read the complete A2A Protocol Documentation site
- Review the detailed A2A Protocol Specification
-
Review Key A2A Topics:
- A2A and MCP: How A2A complements the Model Context Protocol
- Enterprise-Ready Features: Security, observability, and other considerations
- Streaming & Asynchronous Operations: Details on SSE and push notifications
- Agent Discovery: Different ways agents can find each other
-
Build Your Own Agent:
- Create an A2A agent using your favorite framework (LangChain, CrewAI, AutoGen, etc.)
- Implement the
AgentExecutorinterface to bridge your agent's logic with A2A - Define unique skills and capabilities for your agent
-
Contribute to the A2A Community:
- Join discussions on the A2A GitHub Discussions page
- Report issues or suggest improvements via GitHub Issues
- Consider contributing code, examples, or documentation
The A2A protocol aims to foster an ecosystem of interoperable AI agents. By building and sharing A2A-compliant agents, you can be a part of this exciting development!
Related Articles
- Understanding A2A Protocol: A Comprehensive Guide
- A2A Protocol Development Guide(TypeScript)
- A2A vs MCP: The Protocol Revolution in AI Architecture
Goto A2A
Featured Products
Tools and services from the A2A ecosystem directory.
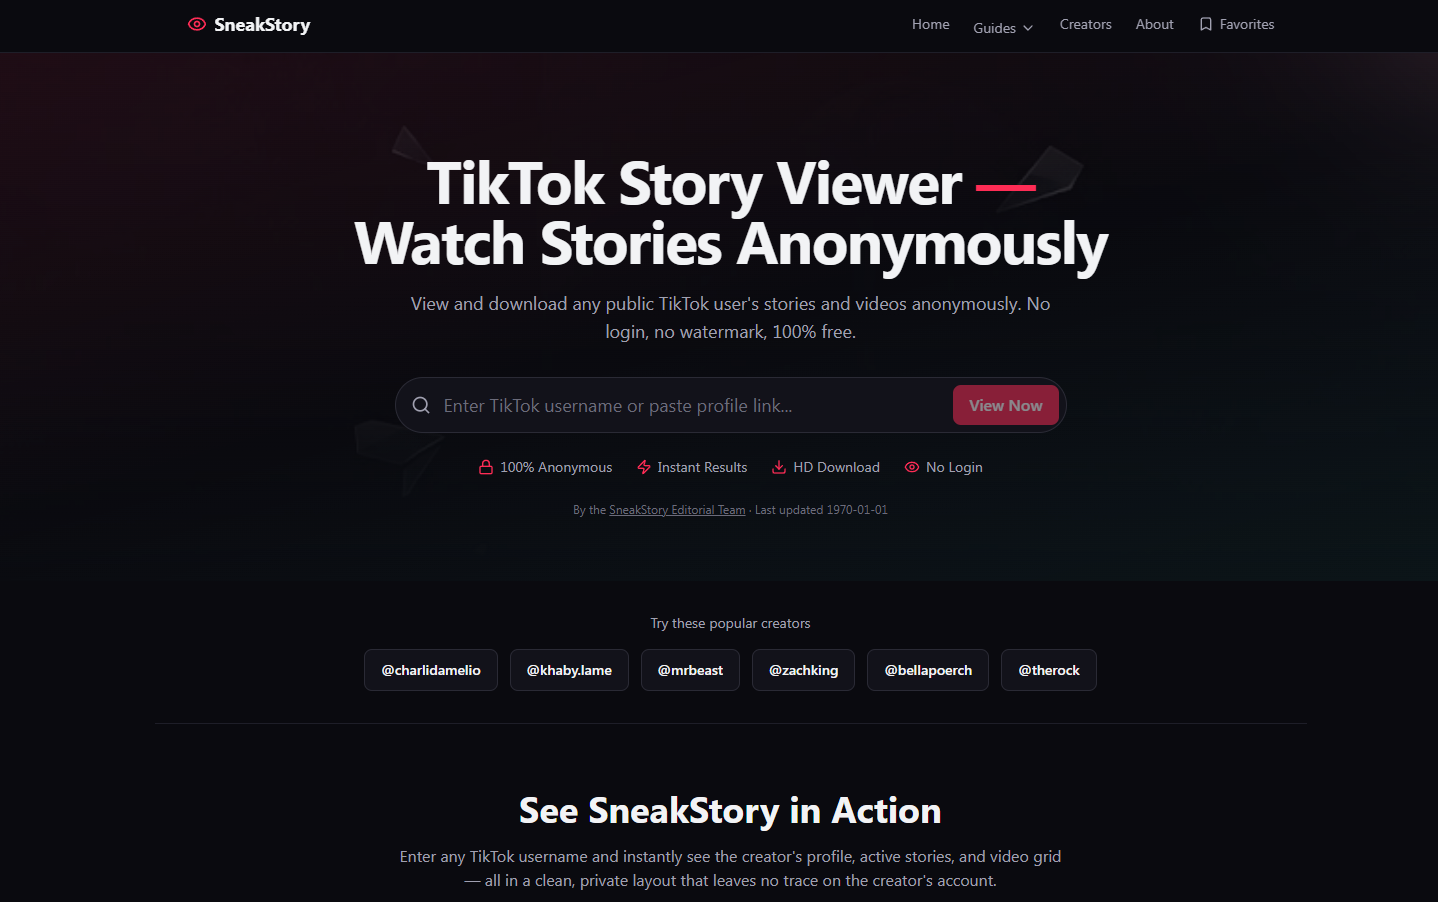
View and download any TikTok user's stories and videos anonymously with SneakStory. Free, no login required, no watermark. Just paste a username to watch.

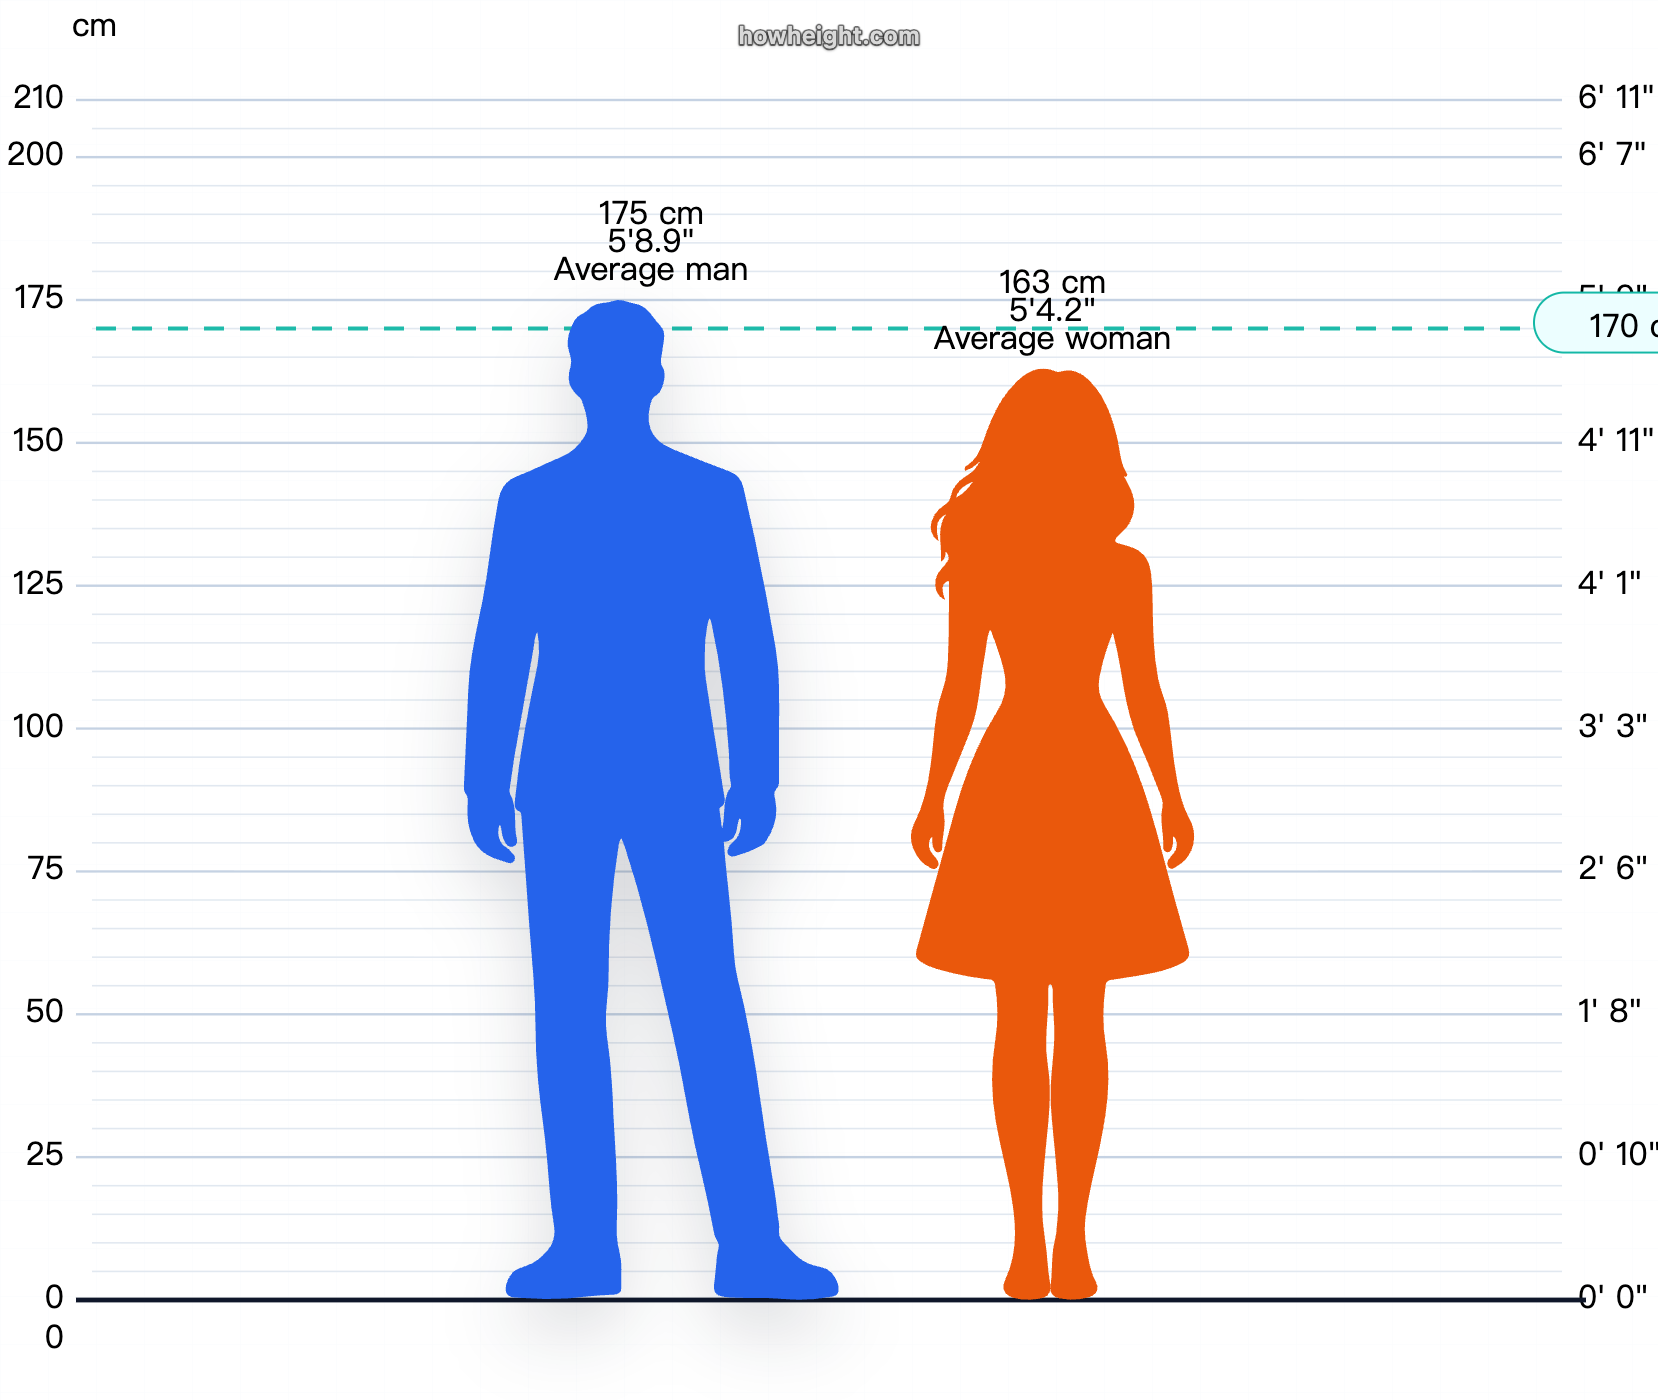
HowHeight is the most powerful free visual height comparison tool for people, animals, objects, and characters, with charts in cm and ft + in.
Related Articles
Explore more content related to this topic
Python A2A Tutorial 20250513
Learn how to build and interact with A2A agents using Python. This comprehensive tutorial covers everything from basic concepts to advanced features like streaming and multi-turn conversations with Gemini AI.
Python A2A Tutorial with Source Code
A comprehensive, hands-on guide to building a Python A2A server using the google-a2a library. Includes complete source code, practical examples, and step-by-step implementation details. Learn about agent skills, agent cards, handling tasks, streaming responses, and integrating a local Ollama AI model with Langchain. Perfect for developers looking to implement real-world A2A solutions.
Python A2A Tutorial
A step-by-step guide to building a Python A2A server using the google-a2a library. Learn about agent skills, agent cards, handling tasks, streaming responses, and integrating a local Ollama AI model with Langchain.
Building an A2A Currency Agent with LangGraph
This guide provides a detailed explanation of how to build an A2A-compliant agent using LangGraph and the Google Gemini model. We'll walk through the Currency Agent example from the A2A Python SDK, explaining each component, the flow of data, and how the A2A protocol facilitates agent interactions.
AP2 (Agent Payments Protocol) Usage Tutorial
"AP2 (Agent Payments Protocol) is a protocol for agent payments that supports both human-present and human-absent commerce flows. This tutorial provides detailed instructions on how to use the AP2 Python sample project."