目录
- ADK 与 A2A 协议概述
- 环境准备与依赖安装
- 项目结构设计
- A2A 服务端代理开发
- A2A 客户端代理开发
- 代理配置与元数据
- A2A 服务器启动与测试
- Web UI 集成测试
- A2A 通信流程详解
ADK 与 A2A 协议概述
什么是 ADK 和 A2A?
ADK (Agent Development Kit) 是 Google 开发的智能代理开发框架,而 A2A (Agent2Agent Protocol) 是标准化的代理间通信协议。ADK 框架内置了对 A2A Agent的完整支持,提供了 RemoteA2aAgent 等关键组件,使开发者能够:
- 🔗 无缝连接:实现分布式代理之间的标准化通信
- 🚀 快速开发:使用简单的 API 快速构建复杂的代理系统
- 🔄 协议标准化:遵循 A2A 协议规范,确保互操作性
- 🎯 智能路由:自动处理消息路由和格式转换
- 📊 可观测性:内置日志和监控功能
重要说明: ADK 是开发框架,A2A 是通信协议。ADK 包含了 A2A 协议的实现,让开发者可以轻松构建支持 Agent2Agent 通信的智能代理系统。本指南将展示如何在 ADK 框架中使用 A2A 功能。
ADK 中 A2A 功能的核心优势
- 分布式架构:支持代理部署在不同服务器和环境中,通过 A2A 协议通信
- 标准化协议:遵循 A2A 通信协议规范,确保跨平台兼容性
- 开箱即用:ADK 提供完整的 CLI 工具和 Web UI,内置 A2A 支持
- 扩展性强:支持自定义工具和复杂业务逻辑,兼容 A2A 生态
- 生产就绪:企业级的安全性和可靠性保障
环境准备与依赖安装
系统要求
- Python: 3.10 或更高版本
- 操作系统: Linux、macOS 或 Windows
- API 密钥: Gemini API Key (用于 LLM 功能)
步骤 1:创建项目目录
# 创建项目根目录
mkdir adk-a2a-demo
cd adk-a2a-demo

# 创建虚拟环境
python -m venv .venv

# 激活虚拟环境
# Linux/macOS:
source .venv/bin/activate
# Windows:
# .venv\Scripts\activate
步骤 2:安装 ADK 依赖(包含 A2A 支持)
# 安装 ADK 核心包(包含 A2A 协议支持)
pip install google-adk[a2a]>=1.6.1

# 验证安装
adk --version
步骤 3:配置环境变量
# 创建 .env 文件
echo "GOOGLE_API_KEY=your_gemini_api_key_here" > .env

# 设置环境变量(临时)
export GOOGLE_API_KEY="your_gemini_api_key_here"
项目结构设计
基于 ADK 的 A2A 项目推荐结构
adk-a2a-demo/
├── .env                    # 环境变量配置
├── requirements.txt        # Python 依赖
├── __init__.py            # 主项目初始化
├── agent.py               # A2A 客户端代理(RemoteA2aAgent)
├── remote_a2a/            # A2A 服务端代理目录
│   └── facts_agent/       # 具体的代理实现
│       ├── __init__.py    # 代理包初始化
│       ├── agent.py       # 代理核心逻辑
│       └── agent.json     # A2A 代理元数据配置
└── README.md              # 项目说明文档
创建项目基础结构
# 创建必要的目录和文件
mkdir -p remote_a2a/facts_agent
touch __init__.py agent.py
touch remote_a2a/facts_agent/__init__.py
touch remote_a2a/facts_agent/agent.py
touch remote_a2a/facts_agent/agent.json
touch requirements.txt
A2A 服务端代理开发
步骤 1:创建服务端代理实现
服务端代理是实际执行业务逻辑的核心组件。在 remote_a2a/facts_agent/agent.py 中实现:
# remote_a2a/facts_agent/agent.py

from google.adk import Agent
from google.adk.tools import google_search

# 定义服务端代理
root_agent = Agent(
    # 代理唯一标识符
    name="facts_agent",

    # 使用的大语言模型
    model="gemini-2.0-flash",

    # 代理功能描述
    description="Agent to give interesting facts.",

    # 代理行为指令
    instruction=(
        "You are a helpful agent who can provide interesting facts. "
        "Use Google Search to find accurate and up-to-date information. "
        "Always provide sources for your facts."
    ),

    # 可用工具列表
    tools=[google_search],
)
步骤 2:配置代理包初始化
在 remote_a2a/facts_agent/__init__.py 中:
# remote_a2a/facts_agent/__init__.py

# 导入代理实现,使其可被 ADK 发现
from . import agent
步骤 3:服务端代理核心功能解析
# 代理的核心组件说明

# 1. 名称 (name)
# - 必须唯一,用于在 A2A 网络中识别代理
# - 建议使用描述性的名称

# 2. 模型 (model)
# - 指定使用的大语言模型
# - 支持 Gemini 系列模型

# 3. 描述 (description)
# - 代理功能的简短描述
# - 会在代理发现时显示给其他代理

# 4. 指令 (instruction)
# - 详细的行为指导
# - 定义代理的性格和响应风格

# 5. 工具 (tools)
# - 代理可以调用的外部工具
# - 如搜索、计算、API 调用等
A2A 客户端代理开发
步骤 1:创建客户端代理
客户端代理使用 RemoteA2aAgent 连接到远程服务。在 agent.py 中实现:
# agent.py

from google.adk.agents.remote_a2a_agent import RemoteA2aAgent

# 定义远程 A2A 客户端代理
root_agent = RemoteA2aAgent(
    # 客户端代理名称
    name="facts_agent",

    # 功能描述
    description="Agent to give interesting facts.",

    # 远程代理的卡片 URL
    agent_card="http://localhost:8001/a2a/facts_agent/.well-known/agent.json",
)
步骤 2:RemoteA2aAgent 详细配置
# 高级配置示例
root_agent = RemoteA2aAgent(
    name="facts_agent",
    description="Agent to give interesting facts.",
    agent_card="http://localhost:8001/a2a/facts_agent/.well-known/agent.json",

    # 可选配置
    timeout=300.0,          # HTTP 超时时间(秒)
    httpx_client=None,      # 自定义 HTTP 客户端
)
步骤 3:客户端代理工作原理
- 代理发现:通过 agent_card URL 获取远程代理信息
- 连接建立:创建 HTTP 连接到远程 A2A 服务器
- 消息转换:将本地事件转换为 A2A 协议消息
- 远程调用:发送请求到远程代理
- 响应处理:接收并转换远程代理的响应
代理配置与元数据
步骤 1:创建代理配置文件
在 remote_a2a/facts_agent/agent.json 中定义代理元数据:
{
  "name": "facts_agent",
  "description": "Agent to give interesting facts.",
  "url": "http://localhost:8001/a2a/facts_agent",
  "version": "1.0.0",
  "defaultInputModes": ["text/plain"],
  "defaultOutputModes": ["text/plain"],
  "capabilities": {
    "streaming": true,
    "functions": true
  },
  "skills": [
    {
      "id": "give_facts",
      "name": "Interesting Facts",
      "description": "Provide interesting facts about various topics using Google Search.",
      "tags": ["information", "facts", "knowledge", "search", "google"],
      "examples": [
        "Provide an interesting fact about New York City.",
        "Tell me something fascinating about quantum physics.",
        "What's an unusual fact about marine life?"
      ]
    }
  ]
}
步骤 2:配置字段详解
{
  // 基础信息
  "name": "代理唯一标识符",
  "description": "代理功能简述",
  "url": "A2A 服务端点 URL",
  "version": "版本号(语义化版本)",

  // 输入输出模式
  "defaultInputModes": ["支持的输入格式"],
  "defaultOutputModes": ["支持的输出格式"],

  // 代理能力
  "capabilities": {
    "streaming": "是否支持流式响应",
    "functions": "是否支持函数调用"
  },

  // 技能定义
  "skills": [
    {
      "id": "技能唯一标识",
      "name": "技能显示名称",
      "description": "技能详细描述",
      "tags": ["标签1", "标签2"],
      "examples": ["使用示例1", "使用示例2"]
    }
  ]
}
步骤 3:创建依赖文件
在 requirements.txt 中:
google-adk[a2a]>=1.6.1
在 __init__.py 中:
# 项目初始化文件
from . import agent
A2A 服务器启动与测试
步骤 1:启动 A2A 服务器
# 确保在项目根目录并激活虚拟环境
source .venv/bin/activate

# 启动 A2A 服务器
adk api_server --a2a --port 8001 remote_a2a

# 预期输出:
# INFO:     Uvicorn running on http://127.0.0.1:8001 (Press CTRL+C to quit)
# INFO:     A2A endpoints enabled for agents: facts_agent
步骤 2:验证 A2A 端点
# 测试代理发现端点
curl http://localhost:8001/a2a/facts_agent/.well-known/agent.json

# 预期返回代理配置 JSON
步骤 3:A2A 服务器架构解析
A2A 服务器启动后会创建以下端点:
-
代理发现端点:
/.well-known/agent.json- 提供代理元数据和能力信息
- 用于代理自动发现和配置
-
消息处理端点:
/a2a/{agent_name}- 接收来自其他代理的消息
- 处理 A2A 协议请求
-
健康检查端点:
/health- 服务器状态监控
- 负载均衡器探活
Web UI 集成测试
步骤 1:启动 ADK Web 服务器
在新的终端窗口中:
# 激活虚拟环境
source .venv/bin/activate

# 启动 Web UI 服务器
adk web .

# 预期输出:
# INFO:     Uvicorn running on http://127.0.0.1:8000 (Press CTRL+C to quit)
# INFO:     Available agents: facts_agent
步骤 2:Web UI 测试流程
-
访问 Web UI:在浏览器中打开
http://localhost:8000 -
选择代理:从下拉菜单中选择
facts_agent -
测试对话:输入测试消息,例如:
"Tell me an interesting fact about artificial intelligence" -
观察响应:验证代理是否正确响应并使用了 Google 搜索工具
步骤 3:测试用例示例
# 测试用例 1:基础事实查询
输入:What's an interesting fact about the Great Wall of China?
期望:返回关于长城的有趣事实,包含搜索来源

# 测试用例 2:科学知识查询
输入:Tell me something fascinating about black holes.
期望:返回黑洞相关的科学事实

# 测试用例 3:当前事件查询
输入:What's a recent discovery in space exploration?
期望:返回最新的太空探索发现
A2A 通信流程详解
完整的 A2A 通信时序图
sequenceDiagram
    participant User as 用户
    participant WebUI as ADK Web UI<br/>(localhost:8000)
    participant Client as 客户端代理<br/>(RemoteA2aAgent)
    participant A2AServer as A2A 服务器<br/>(localhost:8001)
    participant Agent as 服务端代理<br/>(facts_agent)
    participant LLM as Gemini LLM
    participant Search as Google Search

    User->>WebUI: 1. 输入查询消息
    WebUI->>Client: 2. 调用客户端代理

    Note over Client: 3. 代理初始化检查
    Client->>A2AServer: 4. GET /.well-known/agent.json
    A2AServer-->>Client: 5. 返回代理配置

    Note over Client: 6. 构建 A2A 消息
    Client->>A2AServer: 7. POST /a2a/facts_agent<br/>发送 A2A 消息

    A2AServer->>Agent: 8. 转换为内部事件
    Agent->>LLM: 9. 发送提示词
    LLM-->>Agent: 10. 返回响应(含工具调用)

    Agent->>Search: 11. 执行 Google 搜索
    Search-->>Agent: 12. 返回搜索结果

    Agent->>LLM: 13. 整合搜索结果
    LLM-->>Agent: 14. 生成最终响应

    Agent-->>A2AServer: 15. 返回处理结果
    A2AServer-->>Client: 16. 返回 A2A 响应

    Note over Client: 17. 转换为内部事件
    Client-->>WebUI: 18. 返回响应
    WebUI-->>User: 19. 显示最终结果
关键通信步骤解析
1. 代理发现阶段 (步骤 4-5)
GET http://localhost:8001/a2a/facts_agent/.well-known/agent.json

Response:
{
  "name": "facts_agent",
  "url": "http://localhost:8001/a2a/facts_agent",
  "skills": [...]
}
2. 消息发送阶段 (步骤 7)
POST http://localhost:8001/a2a/facts_agent
Content-Type: application/json

{
  "id": "uuid-123",
  "params": {
    "message": {
      "messageId": "msg-456",
      "parts": [{"text": "Tell me a fact about AI"}],
      "role": "user"
    }
  }
}
3. 响应返回阶段 (步骤 16)
HTTP/1.1 200 OK
Content-Type: application/json

{
  "result": {
    "messageId": "response-789",
    "parts": [{"text": "Here's an interesting AI fact..."}],
    "role": "agent"
  }
}
总结
通过本指南,您已经学会了如何使用 ADK 框架实现 A2A 协议构建完整的代理到代理通信系统。主要收获包括:
🎯 核心技能
- ✅ ADK A2A 环境搭建:从零开始配置开发环境
- ✅ A2A 服务端代理开发:使用 ADK 创建具备实际功能的智能代理
- ✅ A2A 客户端代理开发:通过 RemoteA2aAgent 实现远程代理连接
- ✅ A2A 协议理解:深入掌握 Agent2Agent 通信协议
- ✅ ADK Web UI 测试:使用 ADK 提供的 Web UI 进行端到端测试
🚀 技术优势
- 标准化:基于 A2A 协议的标准化代理通信
- 分布式:ADK 支持跨服务器的 A2A 代理部署
- 可扩展:易于添加新功能和集成 A2A 生态系统
- 生产就绪:企业级的稳定性和安全性
🔮 下一步
- 探索更多 ADK 工具和 A2A 集成选项
- 构建多 A2A 代理协作系统
- 实现自定义 A2A 协议扩展
- 将 ADK A2A 解决方案部署到生产环境
ADK 的 A2A 实现为构建下一代智能代理系统提供了强大的基础,让代理间的协作变得简单而高效。开始您的 ADK A2A 开发之旅吧!
参考资源
关键词标签: A2A ADK, Agent Development Kit, A2A 协议, 代理开发, 智能代理通信, Google ADK, Agent Protocol, 分布式代理系统, RemoteA2aAgent, Gemini API
Featured Products
Tools and services from the A2A ecosystem directory.

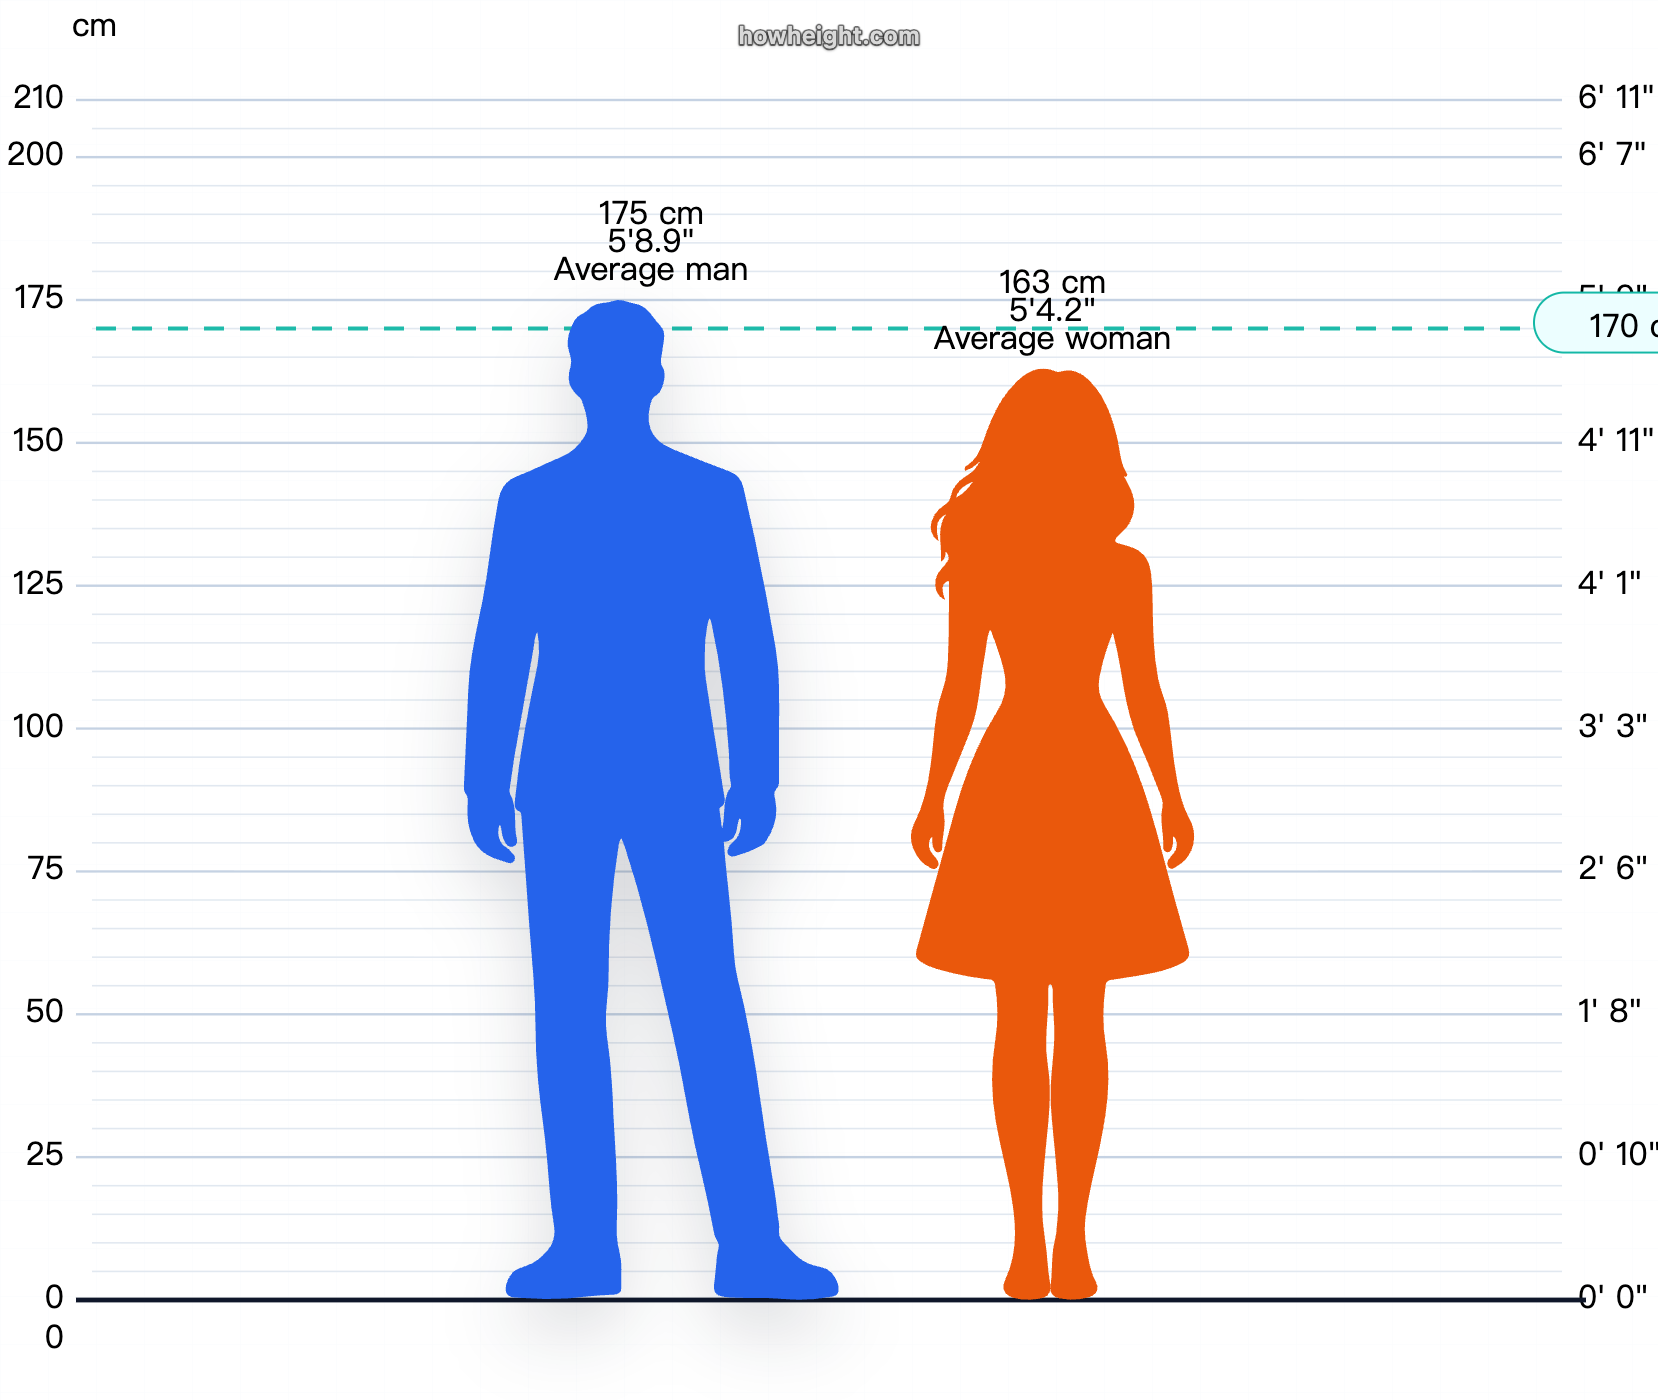
HowHeight is the most powerful free visual height comparison tool for people, animals, objects, and characters, with charts in cm and ft + in.
Turn complex PDFs into clean Markdown that people can review and AI tools can use.
Create powerful Discord bots with AI. The easiest no-code bot maker for moderation, music, leveling, and custom commands.
Related Articles
Explore more content related to this topic
Content Planner Agent Based on A2A and ADK
An intelligent content planning agent based on Google ADK and A2A protocol that creates detailed content outlines from high-level content descriptions.
A2A ADK Expense Reimbursement Agent
An intelligent expense reimbursement agent based on Google ADK and A2A protocol that automatically generates forms to supplement missing information and streamlines the reimbursement process.
A2UI Introduction - Declarative UI Protocol for Agent-Driven Interfaces
Discover A2UI, the declarative UI protocol that enables AI agents to generate rich, interactive user interfaces. Learn how A2UI works, who it's for, how to use it, and see real-world examples from Google Opal, Gemini Enterprise, and Flutter GenUI SDK.
Agent Gateway Protocol (AGP): Practical Tutorial and Specification
Learn the Agent Gateway Protocol (AGP): what it is, problems it solves, core spec (capability announcements, intent payloads, routing and error codes), routing algorithm, and how to run a working simulation.
Integrating A2A Protocol - Intelligent Agent Communication Solution for BeeAI Framework
Using A2A protocol instead of ACP is a better choice for BeeAI, reducing protocol fragmentation and improving ecosystem integration.