Implementing A2A Agents with ADK: Complete Development Guide
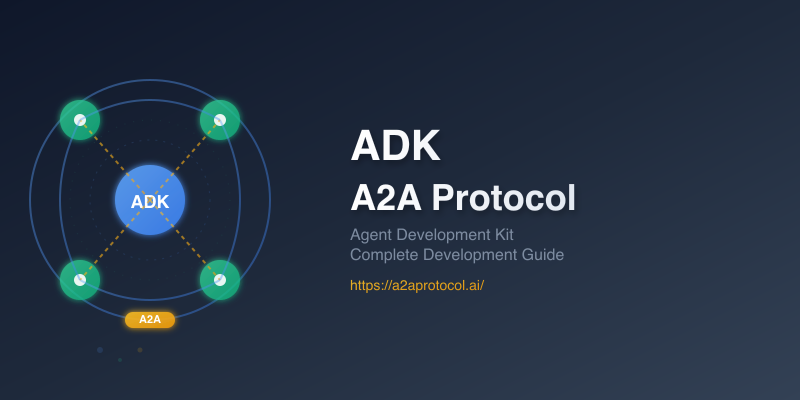
Table of Contents
- ADK and A2A Protocol Overview
- Environment Setup and Dependency Installation
- Project Structure Design
- A2A Server-side Agent Development
- A2A Client-side Agent Development
- Agent Configuration and Metadata
- A2A Server Startup and Testing
- Web UI Integration Testing
- A2A Communication Flow Detailed Explanation
ADK and A2A Protocol Overview
What are ADK and A2A?
ADK (Agent Development Kit) is an intelligent agent development framework developed by Google, while A2A (Agent2Agent Protocol) is a standardized inter-agent communication protocol. The ADK framework has built-in complete support for A2A Agents, providing key components like RemoteA2aAgent, enabling developers to:
- 🔗 Seamless Connection: Implement standardized communication between distributed agents
- 🚀 Rapid Development: Quickly build complex agent systems using simple APIs
- 🔄 Protocol Standardization: Follow A2A protocol specifications to ensure interoperability
- 🎯 Intelligent Routing: Automatically handle message routing and format conversion
- 📊 Observability: Built-in logging and monitoring capabilities
Important Note: ADK is a development framework, A2A is a communication protocol. ADK contains the implementation of the A2A protocol, allowing developers to easily build intelligent agent systems that support Agent2Agent communication. This guide will demonstrate how to use A2A functionality within the ADK framework.
Core Advantages of A2A Functionality in ADK
- Distributed Architecture: Supports agent deployment across different servers and environments, communicating through A2A protocol
- Standardized Protocol: Follows A2A communication protocol specifications, ensuring cross-platform compatibility
- Out-of-the-Box: ADK provides complete CLI tools and Web UI with built-in A2A support
- High Extensibility: Supports custom tools and complex business logic, compatible with A2A ecosystem
- Production Ready: Enterprise-grade security and reliability guarantees
Environment Setup and Dependency Installation
System Requirements
- Python: 3.10 or higher
- Operating System: Linux, macOS, or Windows
- API Key: Gemini API Key (for LLM functionality)
Step 1: Create Project Directory
# Create project root directory
mkdir adk-a2a-demo
cd adk-a2a-demo

# Create virtual environment
python -m venv .venv

# Activate virtual environment
# Linux/macOS:
source .venv/bin/activate
# Windows:
# .venv\Scripts\activate
Step 2: Install ADK Dependencies (Including A2A Support)
# Install ADK core package (including A2A protocol support)
pip install google-adk[a2a]>=1.6.1

# Verify installation
adk --version
Step 3: Configure Environment Variables
# Create .env file
echo "GOOGLE_API_KEY=your_gemini_api_key_here" > .env

# Set environment variable (temporary)
export GOOGLE_API_KEY="your_gemini_api_key_here"
Project Structure Design
Recommended A2A Project Structure Based on ADK
adk-a2a-demo/
├── .env                    # Environment variable configuration
├── requirements.txt        # Python dependencies
├── __init__.py            # Main project initialization
├── agent.py               # A2A client agent (RemoteA2aAgent)
├── remote_a2a/            # A2A server-side agent directory
│   └── facts_agent/       # Specific agent implementation
│       ├── __init__.py    # Agent package initialization
│       ├── agent.py       # Agent core logic
│       └── agent.json     # A2A agent metadata configuration
└── README.md              # Project documentation
Create Basic Project Structure
# Create necessary directories and files
mkdir -p remote_a2a/facts_agent
touch __init__.py agent.py
touch remote_a2a/facts_agent/__init__.py
touch remote_a2a/facts_agent/agent.py
touch remote_a2a/facts_agent/agent.json
touch requirements.txt
A2A Server-side Agent Development
Step 1: Create Server-side Agent Implementation
The server-side agent is the core component that actually executes business logic. Implement in remote_a2a/facts_agent/agent.py:
# remote_a2a/facts_agent/agent.py

from google.adk import Agent
from google.adk.tools import google_search

# Define server-side agent
root_agent = Agent(
    # Agent unique identifier
    name="facts_agent",

    # Large language model to use
    model="gemini-2.0-flash",

    # Agent functionality description
    description="Agent to give interesting facts.",

    # Agent behavior instructions
    instruction=(
        "You are a helpful agent who can provide interesting facts. "
        "Use Google Search to find accurate and up-to-date information. "
        "Always provide sources for your facts."
    ),

    # Available tools list
    tools=[google_search],
)
Step 2: Configure Agent Package Initialization
In remote_a2a/facts_agent/__init__.py:
# remote_a2a/facts_agent/__init__.py

# Import agent implementation to make it discoverable by ADK
from . import agent
Step 3: Server-side Agent Core Functionality Analysis
# Core components of the agent explained

# 1. Name (name)
# - Must be unique, used to identify the agent in the A2A network
# - Recommend using descriptive names

# 2. Model (model)
# - Specifies the large language model to use
# - Supports Gemini series models

# 3. Description (description)
# - Brief description of agent functionality
# - Displayed to other agents during agent discovery

# 4. Instruction (instruction)
# - Detailed behavioral guidance
# - Defines agent personality and response style

# 5. Tools (tools)
# - External tools the agent can call
# - Such as search, calculation, API calls, etc.
A2A Client-side Agent Development
Step 1: Create Client-side Agent
The client-side agent uses RemoteA2aAgent to connect to remote services. Implement in agent.py:
# agent.py

from google.adk.agents.remote_a2a_agent import RemoteA2aAgent

# Define remote A2A client agent
root_agent = RemoteA2aAgent(
    # Client agent name
    name="facts_agent",

    # Functionality description
    description="Agent to give interesting facts.",

    # Remote agent card URL
    agent_card="http://localhost:8001/a2a/facts_agent/.well-known/agent.json",
)
Step 2: RemoteA2aAgent Detailed Configuration
# Advanced configuration example
root_agent = RemoteA2aAgent(
    name="facts_agent",
    description="Agent to give interesting facts.",
    agent_card="http://localhost:8001/a2a/facts_agent/.well-known/agent.json",

    # Optional configurations
    timeout=300.0,          # HTTP timeout (seconds)
    httpx_client=None,      # Custom HTTP client
)
Step 3: Client-side Agent Working Principle
- Agent Discovery: Obtain remote agent information through agent_card URL
- Connection Establishment: Create HTTP connection to remote A2A server
- Message Conversion: Convert local events to A2A protocol messages
- Remote Invocation: Send requests to remote agent
- Response Processing: Receive and convert remote agent responses
Agent Configuration and Metadata
Step 1: Create Agent Configuration File
Define agent metadata in remote_a2a/facts_agent/agent.json:
{
  "name": "facts_agent",
  "description": "Agent to give interesting facts.",
  "url": "http://localhost:8001/a2a/facts_agent",
  "version": "1.0.0",
  "defaultInputModes": ["text/plain"],
  "defaultOutputModes": ["text/plain"],
  "capabilities": {
    "streaming": true,
    "functions": true
  },
  "skills": [
    {
      "id": "give_facts",
      "name": "Interesting Facts",
      "description": "Provide interesting facts about various topics using Google Search.",
      "tags": ["information", "facts", "knowledge", "search", "google"],
      "examples": [
        "Provide an interesting fact about New York City.",
        "Tell me something fascinating about quantum physics.",
        "What's an unusual fact about marine life?"
      ]
    }
  ]
}
Step 2: Configuration Field Explanation
{
  // Basic information
  "name": "Agent unique identifier",
  "description": "Brief agent functionality description",
  "url": "A2A service endpoint URL",
  "version": "Version number (semantic versioning)",

  // Input/output modes
  "defaultInputModes": ["Supported input formats"],
  "defaultOutputModes": ["Supported output formats"],

  // Agent capabilities
  "capabilities": {
    "streaming": "Whether streaming response is supported",
    "functions": "Whether function calls are supported"
  },

  // Skill definitions
  "skills": [
    {
      "id": "Skill unique identifier",
      "name": "Skill display name",
      "description": "Detailed skill description",
      "tags": ["Tag1", "Tag2"],
      "examples": ["Usage example 1", "Usage example 2"]
    }
  ]
}
Step 3: Create Dependency Files
In requirements.txt:
google-adk[a2a]>=1.6.1
In __init__.py:
# Project initialization file
from . import agent
A2A Server Startup and Testing
Step 1: Start A2A Server
# Ensure you're in the project root directory and virtual environment is activated
source .venv/bin/activate

# Start A2A server
adk api_server --a2a --port 8001 remote_a2a

# Expected output:
# INFO:     Uvicorn running on http://127.0.0.1:8001 (Press CTRL+C to quit)
# INFO:     A2A endpoints enabled for agents: facts_agent
Step 2: Verify A2A Endpoints
# Test agent discovery endpoint
curl http://localhost:8001/a2a/facts_agent/.well-known/agent.json

# Expected to return agent configuration JSON
Step 3: A2A Server Architecture Analysis
After the A2A server starts, it creates the following endpoints:
-
Agent Discovery Endpoint:
/.well-known/agent.json- Provides agent metadata and capability information
- Used for automatic agent discovery and configuration
-
Message Processing Endpoint:
/a2a/{agent_name}- Receives messages from other agents
- Processes A2A protocol requests
-
Health Check Endpoint:
/health- Server status monitoring
- Load balancer health checks
Web UI Integration Testing
Step 1: Start ADK Web Server
In a new terminal window:
# Activate virtual environment
source .venv/bin/activate

# Start Web UI server
adk web .

# Expected output:
# INFO:     Uvicorn running on http://127.0.0.1:8000 (Press CTRL+C to quit)
# INFO:     Available agents: facts_agent
Step 2: Web UI Testing Process
-
Access Web UI: Open
http://localhost:8000in your browser -
Select Agent: Choose
facts_agentfrom the dropdown menu -
Test Conversation: Input test messages, for example:
"Tell me an interesting fact about artificial intelligence" -
Observe Response: Verify that the agent responds correctly and uses the Google Search tool
Step 3: Test Case Examples
# Test Case 1: Basic fact query
Input: What's an interesting fact about the Great Wall of China?
Expected: Return interesting facts about the Great Wall, including search sources

# Test Case 2: Scientific knowledge query
Input: Tell me something fascinating about black holes.
Expected: Return scientific facts about black holes

# Test Case 3: Current events query
Input: What's a recent discovery in space exploration?
Expected: Return latest space exploration discoveries
A2A Communication Flow Detailed Explanation
Complete A2A Communication Sequence Diagram
sequenceDiagram
    participant User as User
    participant WebUI as ADK Web UI<br/>(localhost:8000)
    participant Client as Client Agent<br/>(RemoteA2aAgent)
    participant A2AServer as A2A Server<br/>(localhost:8001)
    participant Agent as Server Agent<br/>(facts_agent)
    participant LLM as Gemini LLM
    participant Search as Google Search

    User->>WebUI: 1. Input query message
    WebUI->>Client: 2. Call client agent

    Note over Client: 3. Agent initialization check
    Client->>A2AServer: 4. GET /.well-known/agent.json
    A2AServer-->>Client: 5. Return agent configuration

    Note over Client: 6. Build A2A message
    Client->>A2AServer: 7. POST /a2a/facts_agent<br/>Send A2A message

    A2AServer->>Agent: 8. Convert to internal event
    Agent->>LLM: 9. Send prompt
    LLM-->>Agent: 10. Return response (with tool calls)

    Agent->>Search: 11. Execute Google Search
    Search-->>Agent: 12. Return search results

    Agent->>LLM: 13. Integrate search results
    LLM-->>Agent: 14. Generate final response

    Agent-->>A2AServer: 15. Return processing result
    A2AServer-->>Client: 16. Return A2A response

    Note over Client: 17. Convert to internal event
    Client-->>WebUI: 18. Return response
    WebUI-->>User: 19. Display final result
Key Communication Steps Analysis
1. Agent Discovery Phase (Steps 4-5)
GET http://localhost:8001/a2a/facts_agent/.well-known/agent.json

Response:
{
  "name": "facts_agent",
  "url": "http://localhost:8001/a2a/facts_agent",
  "skills": [...]
}
2. Message Sending Phase (Step 7)
POST http://localhost:8001/a2a/facts_agent
Content-Type: application/json

{
  "id": "uuid-123",
  "params": {
    "message": {
      "messageId": "msg-456",
      "parts": [{"text": "Tell me a fact about AI"}],
      "role": "user"
    }
  }
}
3. Response Return Phase (Step 16)
HTTP/1.1 200 OK
Content-Type: application/json

{
  "result": {
    "messageId": "response-789",
    "parts": [{"text": "Here's an interesting AI fact..."}],
    "role": "agent"
  }
}
Summary
Through this guide, you have learned how to use the ADK framework to implement A2A protocol to build a complete Agent2Agent communication system. Key takeaways include:
🎯 Core Skills
- ✅ ADK A2A Environment Setup: Configure development environment from scratch
- ✅ A2A Server-side Agent Development: Use ADK to create intelligent agents with actual functionality
- ✅ A2A Client-side Agent Development: Implement remote agent connections through RemoteA2aAgent
- ✅ A2A Protocol Understanding: Deep mastery of Agent2Agent communication protocol
- ✅ ADK Web UI Testing: Use ADK-provided Web UI for end-to-end testing
🚀 Technical Advantages
- Standardization: Standardized agent communication based on A2A protocol
- Distributed: ADK supports cross-server A2A agent deployment
- Scalable: Easy to add new features and integrate with A2A ecosystem
- Production Ready: Enterprise-grade stability and security
🔮 Next Steps
- Explore more ADK tools and A2A integration options
- Build multi-A2A agent collaboration systems
- Implement custom A2A protocol extensions
- Deploy ADK A2A solutions to production environments
ADK's A2A implementation provides a powerful foundation for building next-generation intelligent agent systems, making agent collaboration simple and efficient. Start your A2A ADK development journey!
Reference Resources
- Google ADK Official Documentation
- A2A Protocol Specification
- Gemini API Documentation
- Sample Code Repository
Keywords: A2A ADK, Agent Development Kit, A2A Protocol, Agent Development, Intelligent Agent Communication, Google ADK, Agent Protocol, Distributed Agent Systems, RemoteA2aAgent, Gemini API
Featured Products
Tools and services from the A2A ecosystem directory.

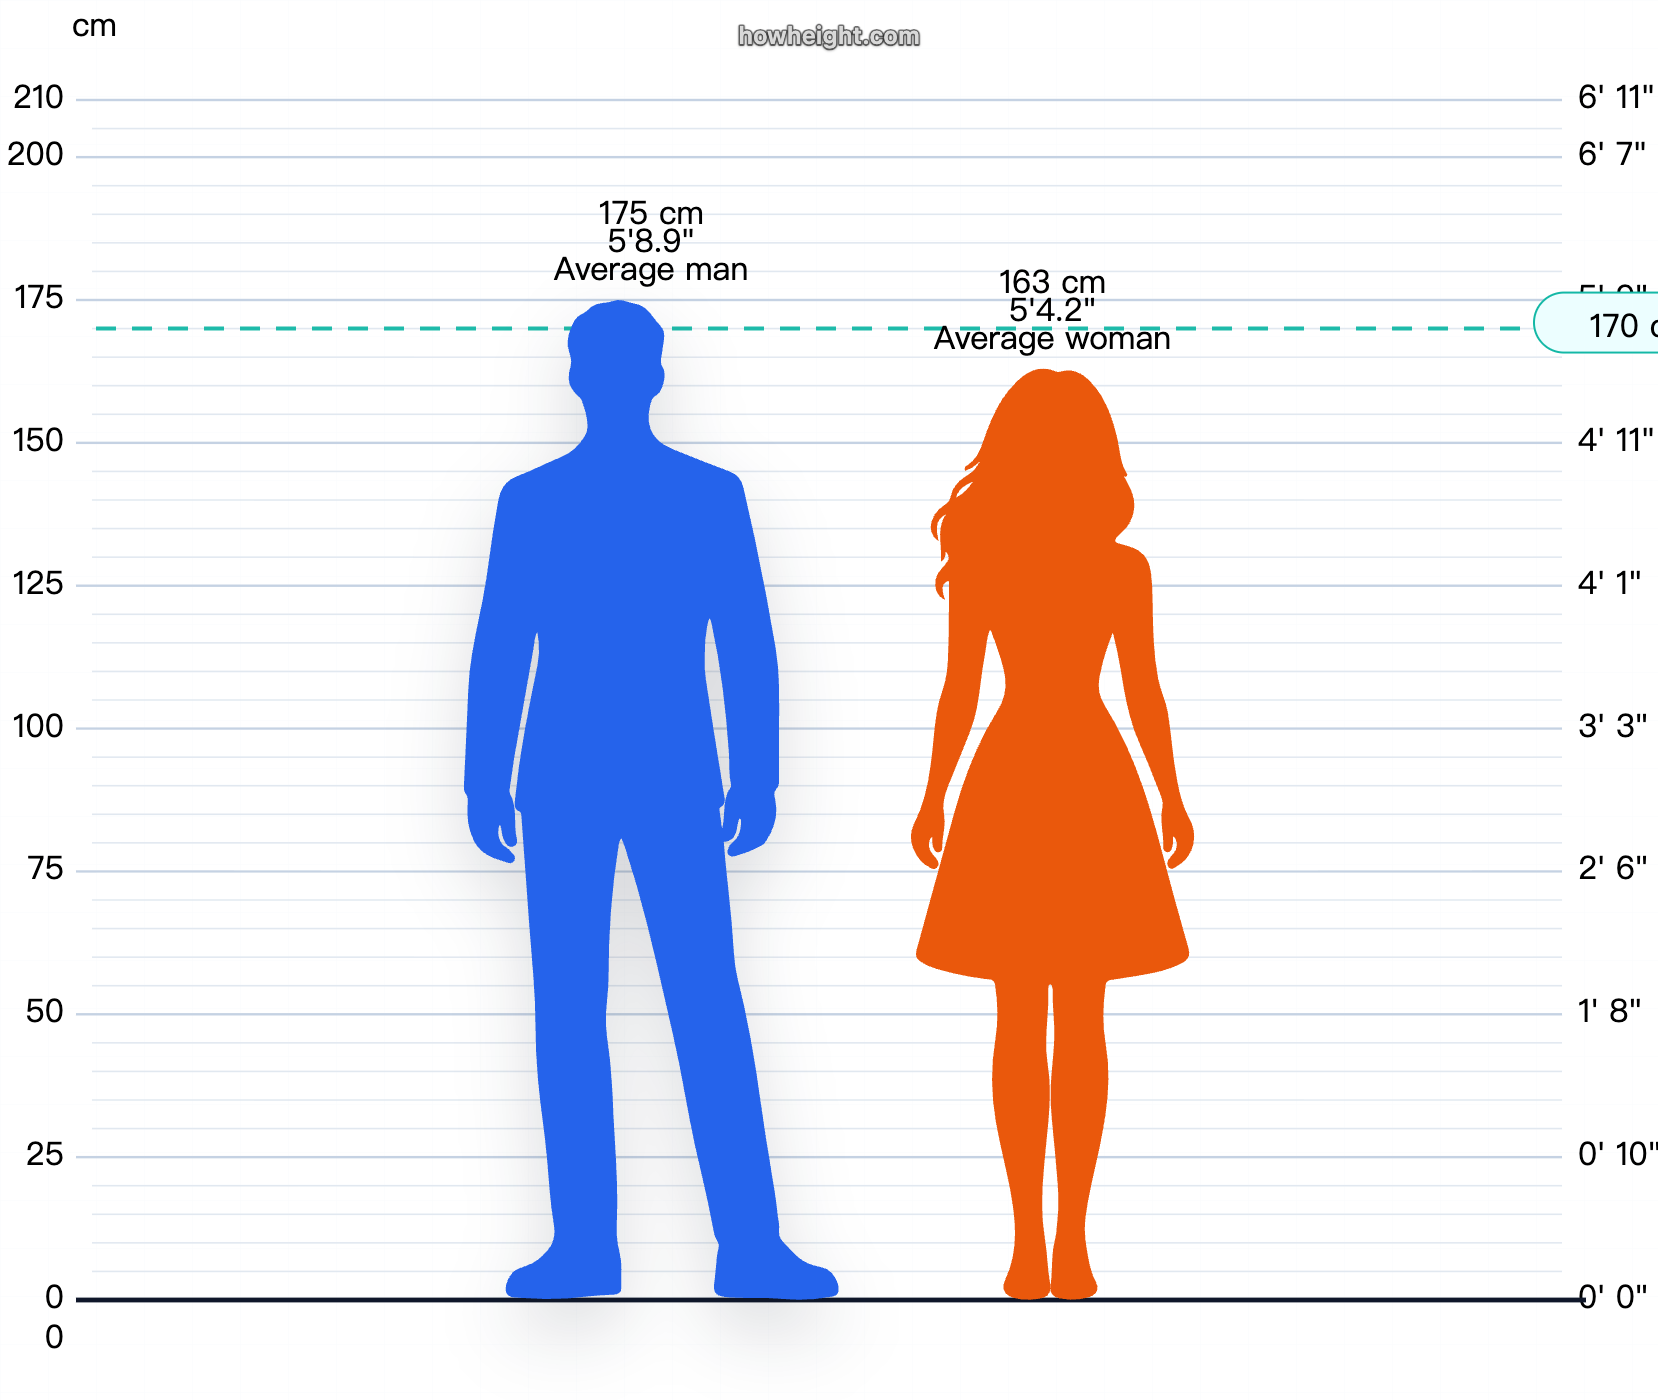
HowHeight is the most powerful free visual height comparison tool for people, animals, objects, and characters, with charts in cm and ft + in.
Turn complex PDFs into clean Markdown that people can review and AI tools can use.
Related Articles
Explore more content related to this topic
Content Planner Agent Based on A2A and ADK
An intelligent content planning agent based on Google ADK and A2A protocol that creates detailed content outlines from high-level content descriptions.
A2A ADK Expense Reimbursement Agent
An intelligent expense reimbursement agent based on Google ADK and A2A protocol that automatically generates forms to supplement missing information and streamlines the reimbursement process.
Qwen3-Coder-Next Complete 2026 Guide - Running AI Coding Agents Locally
Qwen3-Coder-Next is an open-weight language model achieving Sonnet 4.5-level coding performance with only 3B activated parameters (80B total with MoE architecture). Runs on consumer hardware like 64GB MacBook, RTX 5090, or AMD Radeon 7900 XTX with 256K context length. Scores 44.3% on SWE-Bench Pro while eliminating expensive API costs.
Moltworker Complete Guide 2026: Running Personal AI Agents on Cloudflare Without Hardware
Complete guide to Moltworker: run Moltbot AI agents on Cloudflare without hardware. Architecture, deployment steps, security practices, comparison with self-hosting, and FAQ.
The Complete Guide to A2UI Protocol: Building Agent-Driven UIs with Google's A2UI in 2025
A comprehensive guide to A2UI (Agent to UI), a declarative UI protocol for agent-driven interfaces. Learn how AI agents generate rich, interactive UIs that render natively across platforms without executing arbitrary code.