内容列表
注意
这只是一个原型,并且在快速的变化,本篇教程也随时可能过期,可以在A2AProtocol blog最终更新的文章。
我的环境
- Python 3.13
- uv: uv 0.7.2 (Homebrew 2025-04-30)
- Warp
- Ollama 0.6.7 (支持Qwen3)
- macOs Sequoia 15.4.1
A2A SDK Python
克隆最新的代码:
git clone git@github.com:google/A2A.git
创建虚拟环境
``bash cd A2A/a2a-python-sdk
创建虚拟环境
uv venv
激活
source .venv/bin/activate
### 安装 A2A SDK
```bash
uv pip install -e .
运行 A2A Server
cd a2a-python-sdk/examples/helloworld

uv run python __main__.py
输出如下:
⠙ Preparing packages... (16/18)
black      ------------------------------ 481.31 KiB/1.39 MiB
ruff       ------------------------------ 454.19 KiB/9.87 MiB                                                                                                                                                                     Uninstalled 4 packages in 20ms
Installed 25 packages in 40ms
INFO:     Started server process [46538]
INFO:     Waiting for application startup.
INFO:     Application startup complete.
INFO:     Uvicorn running on http://0.0.0.0:9999 (Press CTRL+C to quit)
INFO:     127.0.0.1:49177 - "GET /.well-known/agent.json HTTP/1.1" 200 OK
INFO:     127.0.0.1:49179 - "POST / HTTP/1.1" 200 OK
INFO:     127.0.0.1:49181 - "POST / HTTP/1.1" 200 OK
运行 A2A client
在一个新的终端窗口,激活 venv,进入目录 a2a-python-sdk/examples/helloworld,然后执行:
uv run python test_client.py
输入如下
{'id': 'd220c3d7335e40478e1745d28d54155f', 'jsonrpc': '2.0', 'result': {'messageId': 'ac094ba7-f56c-41e3-85cf-a813406c65d4', 'parts': [{'text': 'Hello World', 'type': 'text'}], 'role': 'agent'}}
Received an instance of Message, getTask and cancelTask are not applicable for invocation
{'id': '403b8991269b42659d6349f34e8bf579', 'jsonrpc': '2.0', 'result': {'final': False, 'messageId': '0b56aa9d-25ca-4f2a-b397-7247c0081e94', 'parts': [{'text': 'Hello ', 'type': 'text'}], 'role': 'agent'}}
{'id': '403b8991269b42659d6349f34e8bf579', 'jsonrpc': '2.0', 'result': {'final': True, 'messageId': '16dce67d-e4e6-4943-bad9-933412ad94ed', 'parts': [{'text': 'World', 'type': 'text'}], 'role': 'agent'}}
例子完成。
Hello World 说明
这是一个简单的 A2A (Agent2Agent) SDK 示例,展示了如何创建一个基础的 Agent 服务。该示例实现了一个简单的 Hello World Agent,它能够响应消息并返回 "Hello World"。
项目结构
helloworld/
├── __main__.py          # 主程序入口,配置和启动 Agent 服务
├── agent_executor.py    # Agent 执行器实现
└── test_client.py       # 测试客户端示例
核心组件
1. Agent 服务配置 (__main__.py)
- 定义了 Agent 的技能(Skill):一个简单的 "hello_world" 技能
- 创建了 Agent 卡片(AgentCard),包含 Agent 的基本信息和能力
- 配置并启动 A2A 服务器,监听在
localhost:9999
2. Agent 执行器 (agent_executor.py)
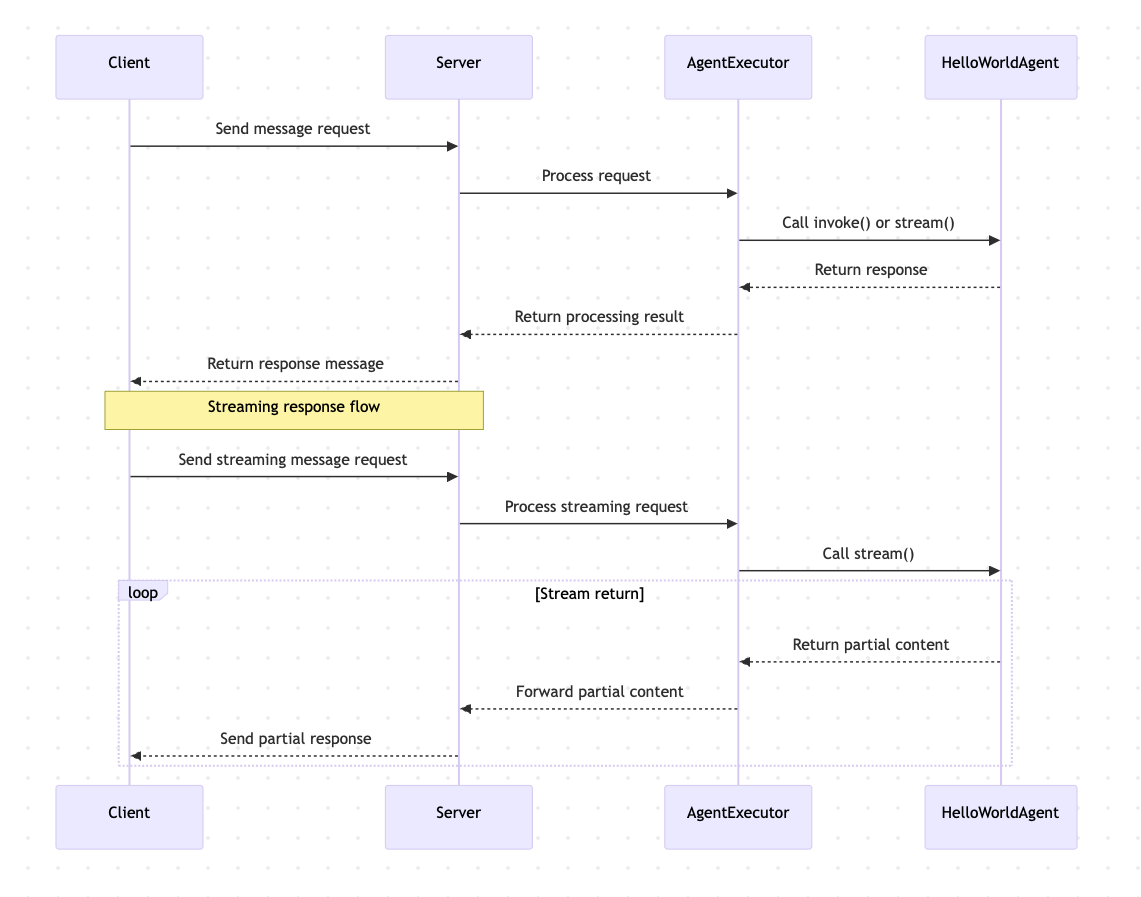
HelloWorldAgent类:实现基本的消息处理逻辑invoke(): 同步返回 "Hello World"stream(): 流式返回 "Hello World"(分两部分返回)
HelloWorldAgentExecutor类:处理各种消息请求- 支持普通消息发送
- 支持流式消息发送
- 处理取消任务和重新订阅请求
3. 测试客户端 (test_client.py)
- 演示如何连接到 Agent 服务
- 展示如何发送消息
- 展示如何获取任务状态
- 展示如何取消任务
- 展示如何使用流式消息
工作流程
功能特点
- 基础消息处理:能够接收和响应简单的文本消息
- 流式响应:支持分块返回消息内容
- 任务管理:支持任务状态查询和取消操作
- 错误处理:包含基本的错误处理机制
Featured Products
Tools and services from the A2A ecosystem directory.

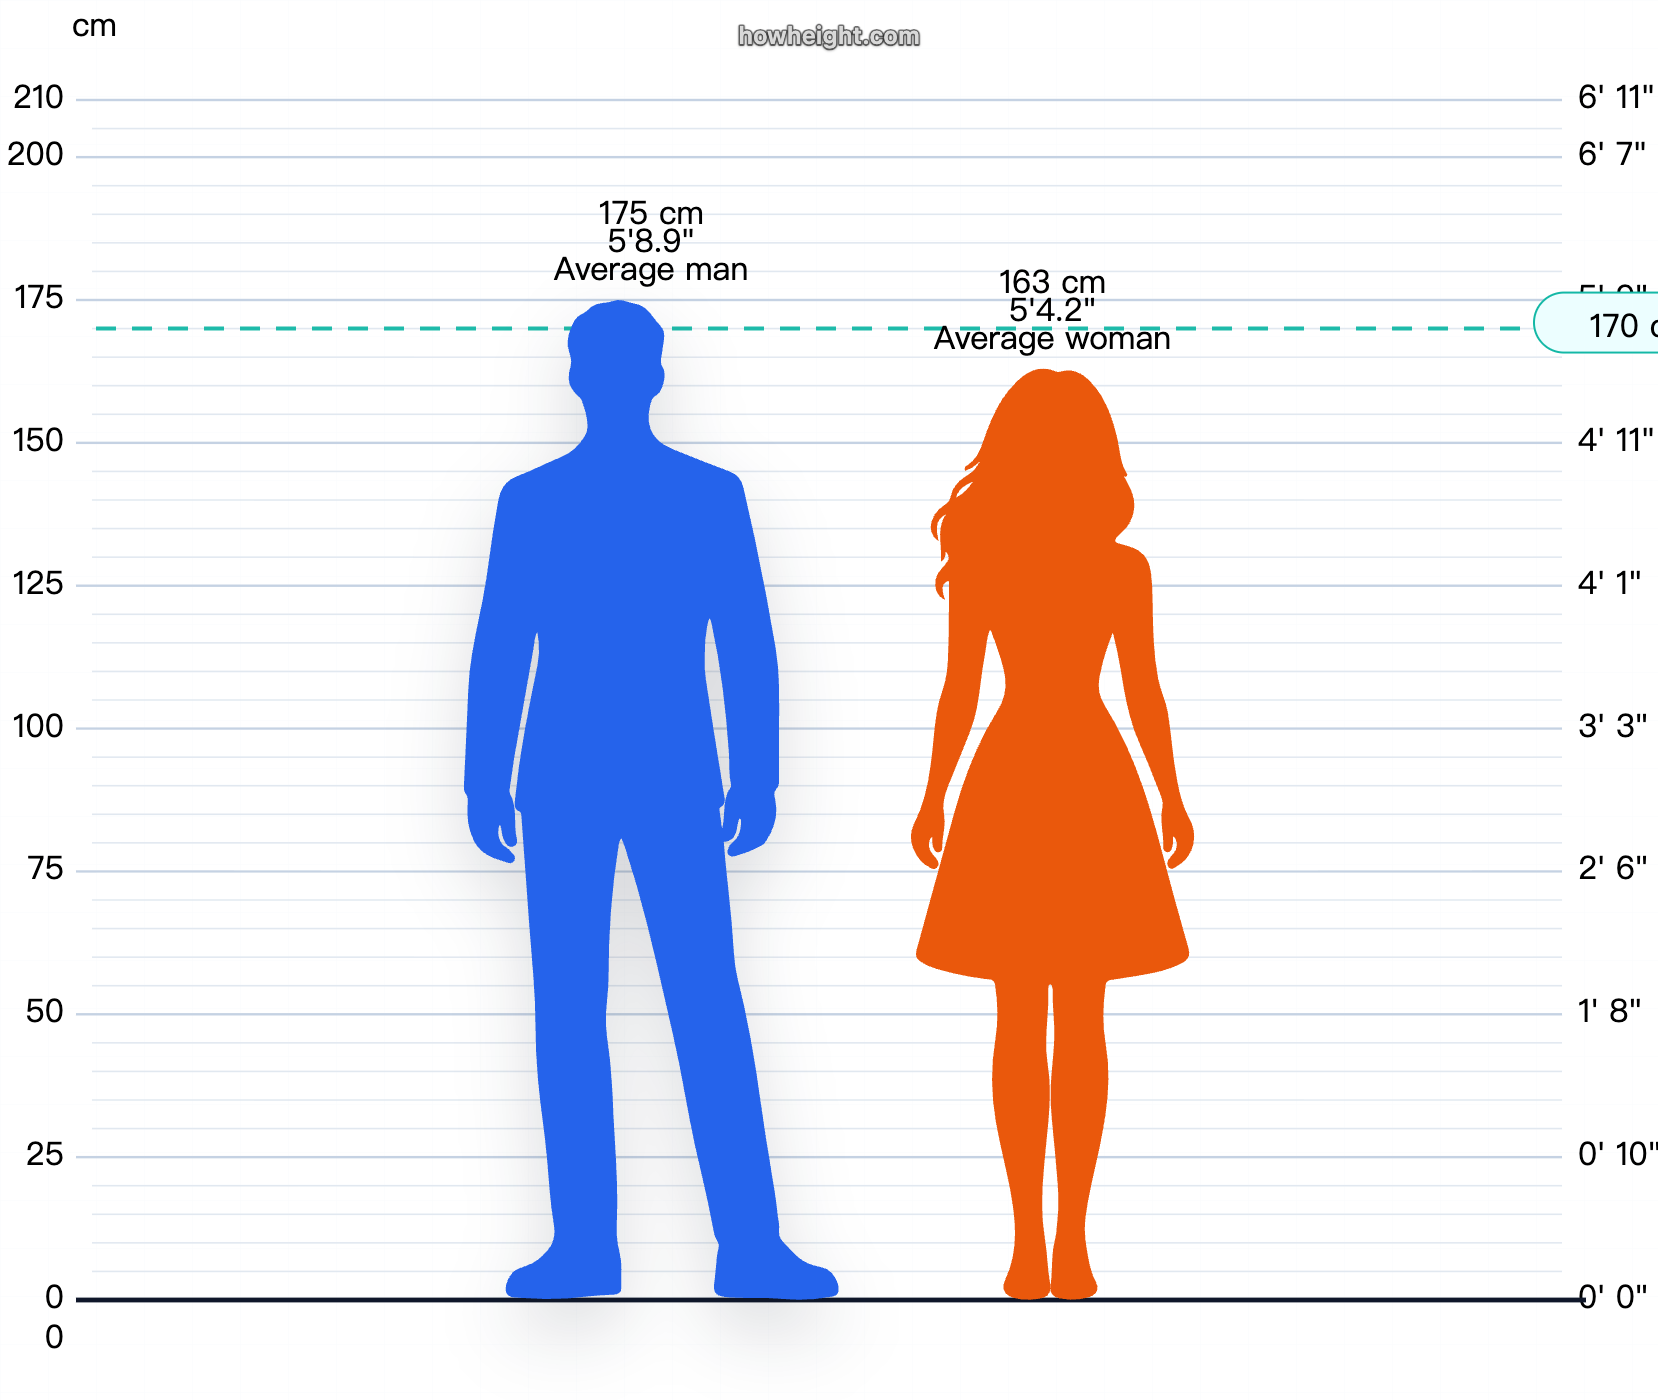
HowHeight is the most powerful free visual height comparison tool for people, animals, objects, and characters, with charts in cm and ft + in.
Turn complex PDFs into clean Markdown that people can review and AI tools can use.
Create powerful Discord bots with AI. The easiest no-code bot maker for moderation, music, leveling, and custom commands.

Related Articles
Explore more content related to this topic
Building an A2A Currency Agent with LangGraph
This guide provides a detailed explanation of how to build an A2A-compliant agent using LangGraph and the Google Gemini model. We'll walk through the Currency Agent example from the A2A Python SDK, explaining each component, the flow of data, and how the A2A protocol facilitates agent interactions.
A2A Python Sample: Github Agent
How to use a2a-python to Create and Connect Github Agent with Google's Agent2Agent (A2A) Protocol
Implementing CurrencyAgent with A2A Python SDK
A step-by-step guide to building a currency conversion agent with A2A Python SDK. Features detailed implementation of CurrencyAgent, AgentExecutor, and AgentServer components, complete with environment setup, testing, and deployment instructions. Perfect for developers looking to create AI-powered currency conversion services.
Google A2A Python SDK Tutorial
A comprehensive guide to building A2A agents with Python, covering environment setup, agent implementation, server deployment, and advanced features like LLM integration and streaming.
Python A2A Tutorial 20250513
Learn how to build and interact with A2A agents using Python. This comprehensive tutorial covers everything from basic concepts to advanced features like streaming and multi-turn conversations with Gemini AI.